My sister’s birthday is coming up, and I wanted to make something cool for her. Hopefully she likes it, as I put about 10 hours and much swearing into it.
Ideation and Planning
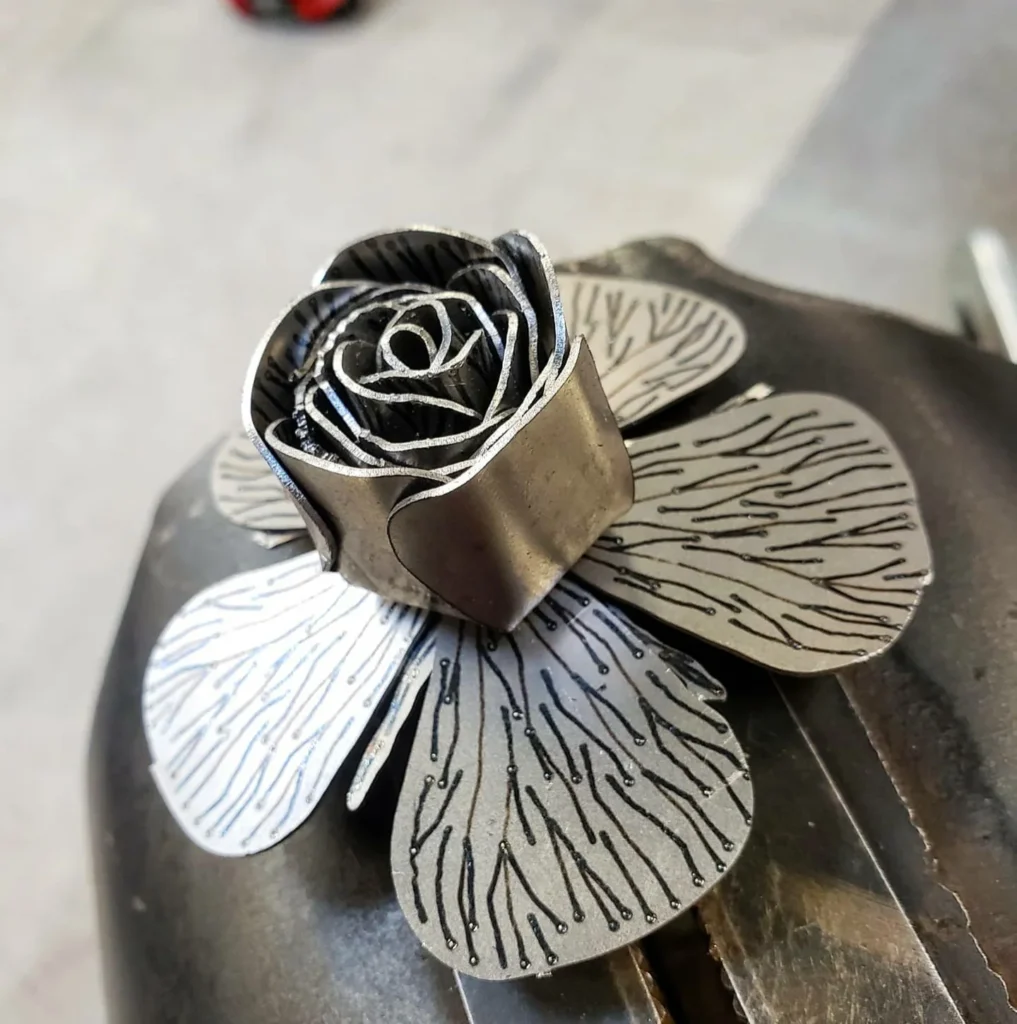
My sister loves plants and flowers; she’s doing graduate work in plant-science, after all. After some brainstorming, I remembered a welding project brought up in my high-school welding class where you bend sheets of steel into a sculpture of a rose. Looking online at pictures, most that I saw were kits with complex shapes, but I ran across this picture down below that looked way simpler and harder to mess up. It’s also a kit, but I figured I could make something similar myself.
I saved the image and went into CAD to try and replicate it. Originally I tried to make a sheet metal model that I could machine and bend, but I didn’t get far before I gave up trying to model one. Making an actual model would have been pretty difficult, since organic form-oriented stuff isn’t what I care to learn or do in CAD. Rather than go through the trouble of making something digital first, I decided to freehand petals on a bandsaw and weld them together. Speaking of welding, this was the point where I decided what material to use. I was torn between steel that I could simply weld together, aluminum that I could machine but couldn’t weld, and brass that I could machine worse but bend better. I settled on steel, since I’d be able to assemble it by welding as opposed to using hardware on or brazing the other metals.

After abandoning CAD, I had something else to decide on before I could start cutting. I originally was going to make a rose since that’s the conventional metal flower and my sister likes them, but it would have taken a lot of metal to make the oh-so-many petals and it’d have been too much for me to visualize how they’d go together in my head. For those reasons, I turned to another flower I’d been mulling over: a lily. There are fewer petals, and they come together in a nice pattern with an easy to visualize form.
Making the Petals
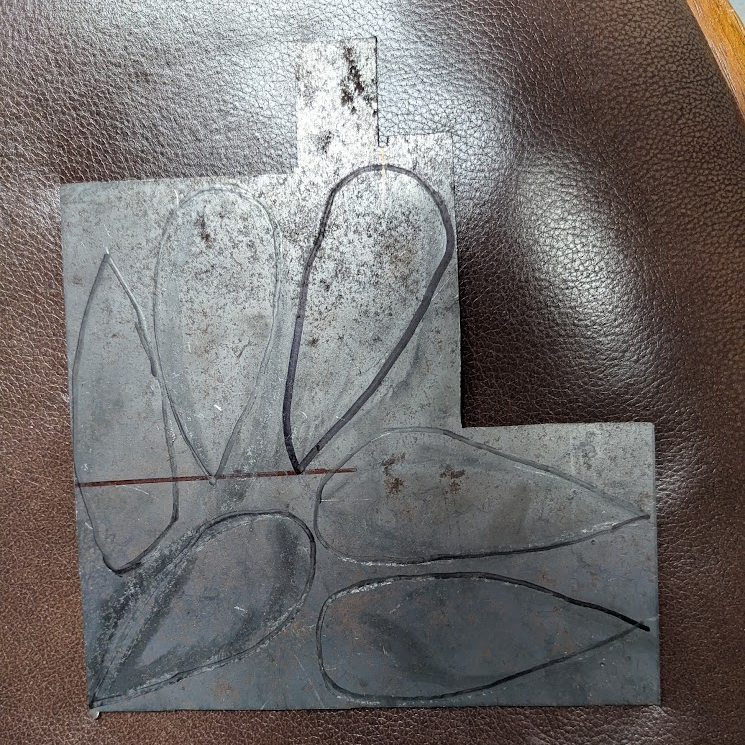
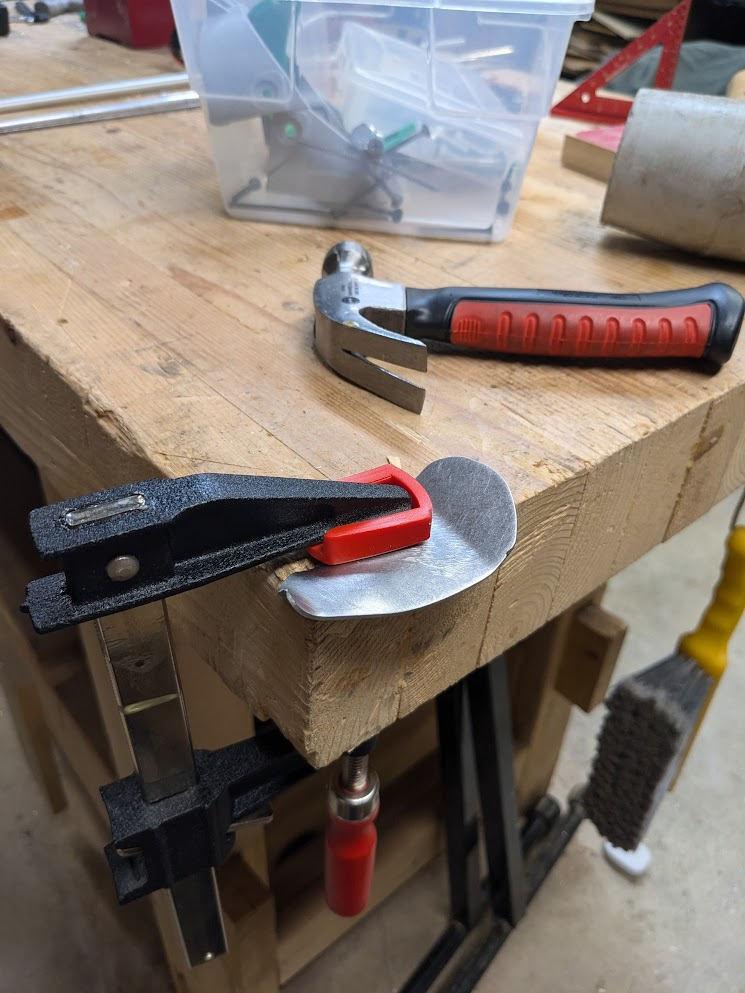
To start out, I grabbed a piece of scrap steel and starting drawing. Starting in pencil, I sketched out some shapes that resembled the petals of my reference image and traced my lines in sharpie when I was satisfied with them.

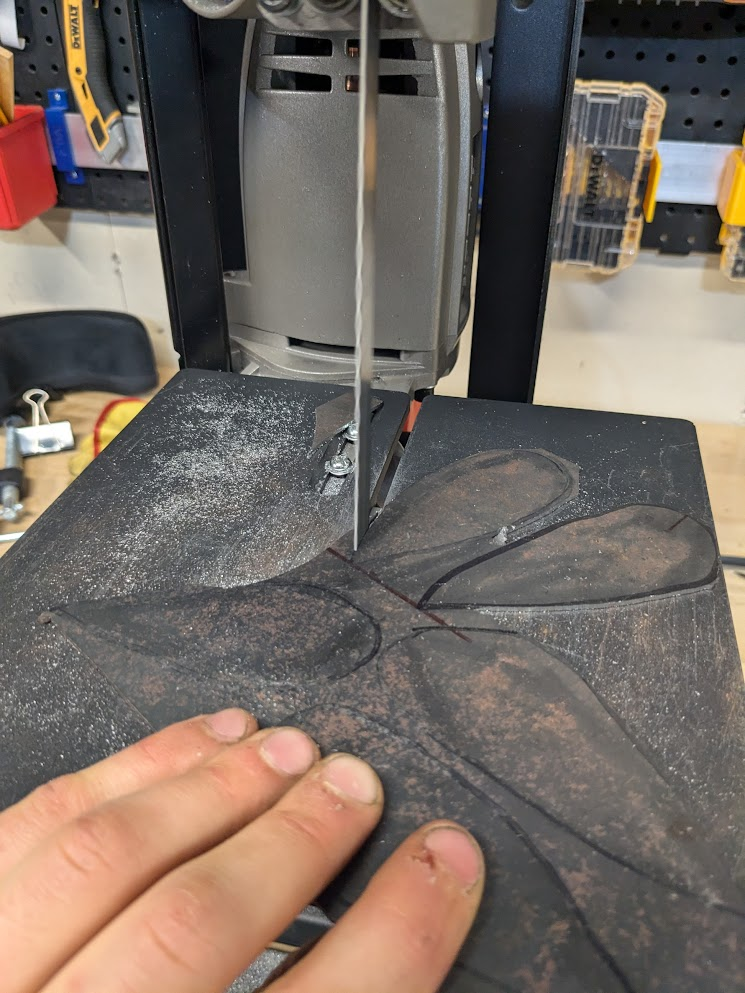
With my template in hand, I used a vertical bandsaw that I set up with a fine tooth blade to roughly follow the lines. A scrollsaw would probably be better since I could have done sharper turns, but since I didn’t have one on hand I settled to making multiple cuts as needed.
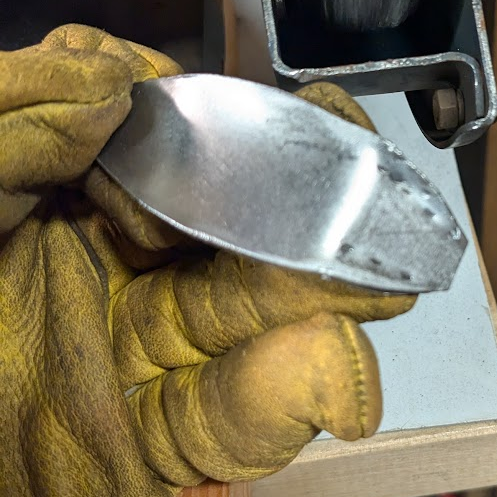
Next, I cleaned up the petals. First I put them individually in a vise and smoothed out the rough edges with an angle grinder, then I sanded them until they were uniform. To bend them into a recognizable shape, I used a combination of clamps and hammers. The first bend I put on using a vise was a straight one about 1 1/4″ from the base of each petal, which would serve as the flute part of the flower. The rest of the bends were more organic, which I made using a hammer to shape the metal into characteristic curves at the tips of the petals and an upward curve on their face. All the hammering chewed up the metal, so afterwards I took a wire wheel to the edges I’d hit.
Welding the Petals
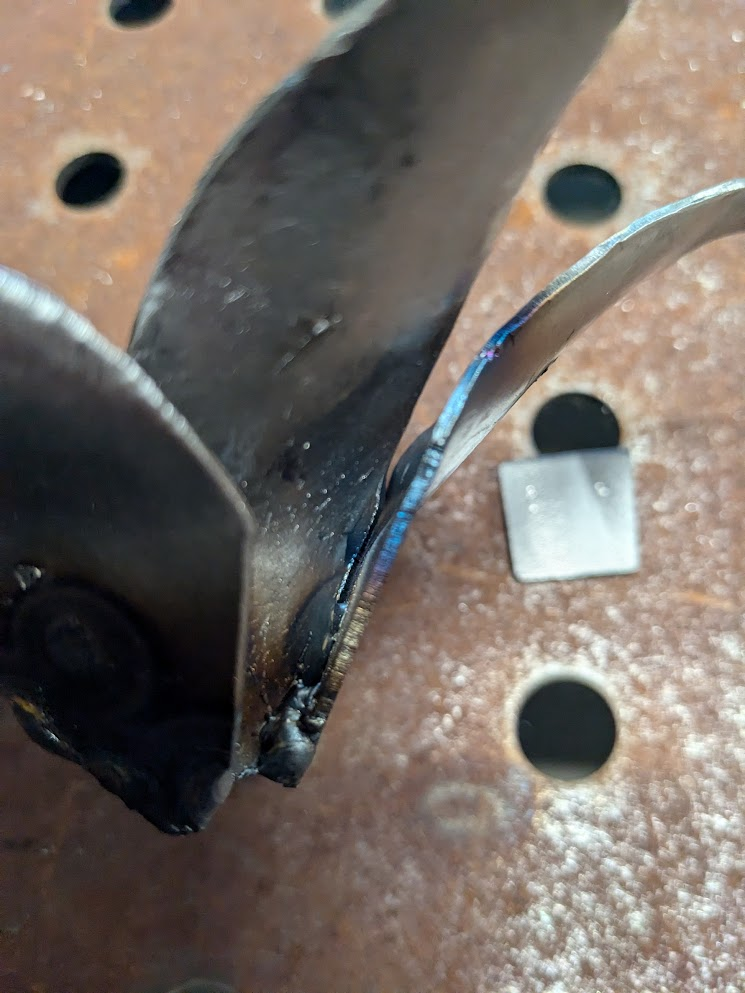
Before I could weld the petals, I had to make some modifications and clean them up a bit. I had originally cut the base of them with a big fat round section to match the reference image, but that was the mid section not the base. To get everything to seat better together, I cut a taper on the base of each petal.
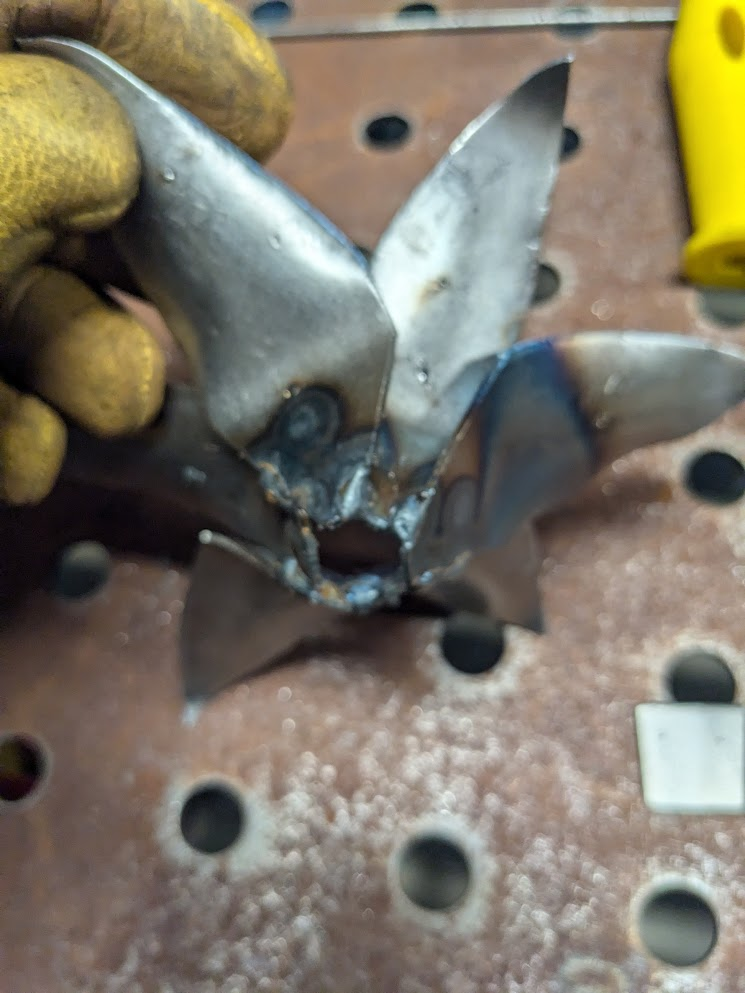
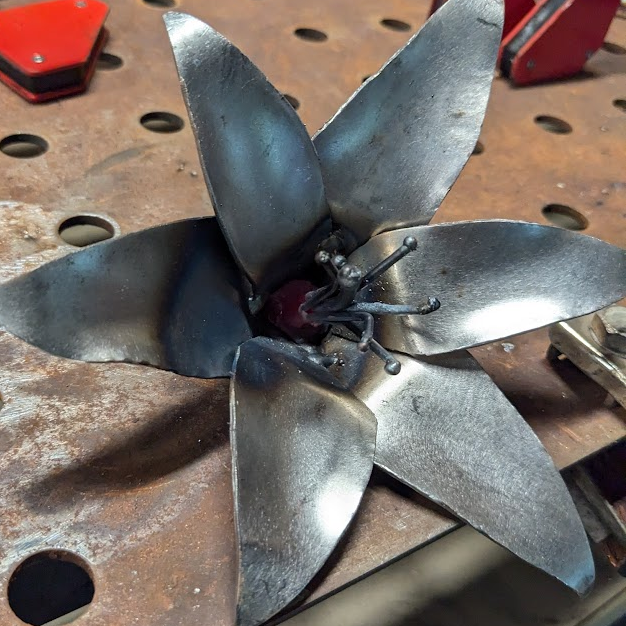
From there, I did some test welds to dial in my MIG settings then tacked all the petals together in an overlapping pattern true to my reference image. This wasn’t very easy, since the best way I could find to hold everything in place was using triangle magnets on curved metal, which wasn’t very rigid nor strong. Still, it ended up working and got easier as the flower started to come together.

When the petals were all welded together, I didn’t quite like how the bottom of the flower overlapped. There were some pretty decent gaps and the petals didn’t quite sit right on each other, but I couldn’t figure out how to fix it. I tried hitting it with a hammer, then when that failed tried doing the same thing after torching the metal; the flower just kind of slid around, and I was too afraid of splaying it out if I clamped it down. After that I just left it, as it was pretty decent for a freehand cut.
Adding the Stamen and Carpel
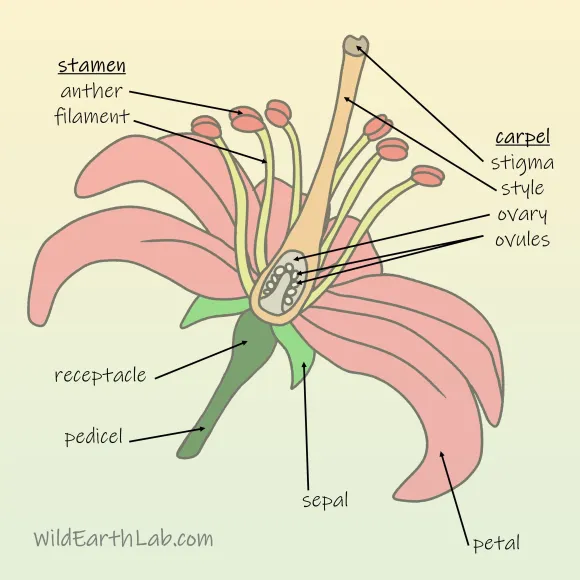
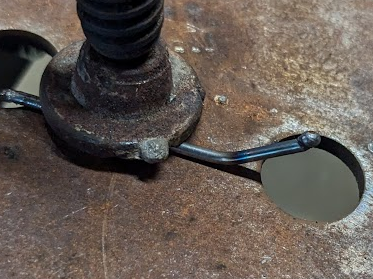
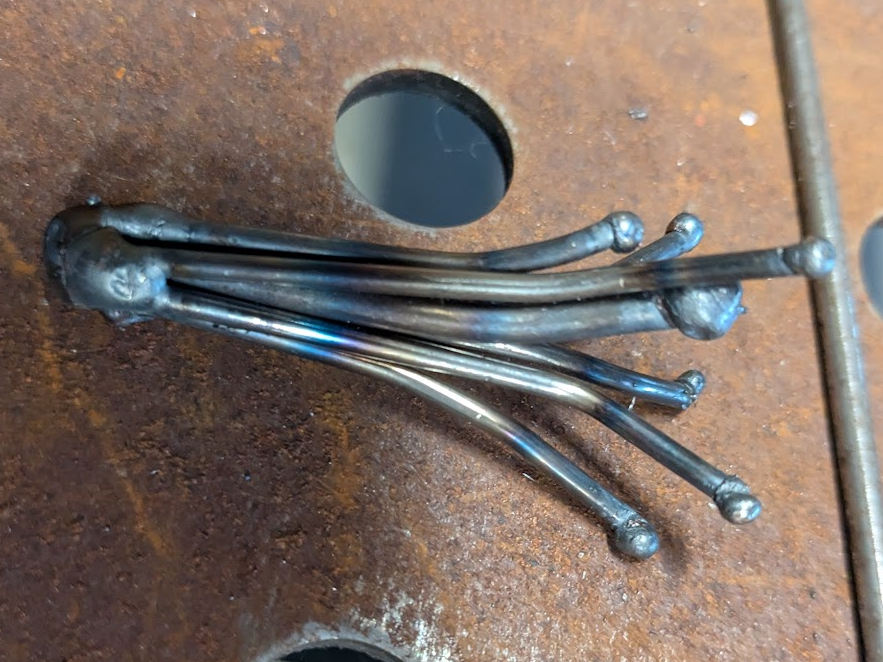
I had to look up what to call these, but they’re the things that poke out of the center of the lily. To start, I cut up some thin steel rod and bent them so that everything wouldn’t be straight in a line. Afterwards, I held each down and added a small tack onto the end to make the anther. This took some trial and error to dial in my settings and I had to scrap a few, but what I ended up with looked decent. I did the same with slightly thicker rod for the carpel, then tacked them all together to make them easier to attach.
To actually attach the assembly to the petals, I tacked it to a flat plate that would fit into a hole I left in the base of the flower. I originally thought I could slide it through the hole into place, but I forgot to make sure it fit – it didn’t. With a cutoff wheel on the angle grinder from earlier, I cut the base of the stamen and carpel to fit in from the top of the flower and could weld it on from there.

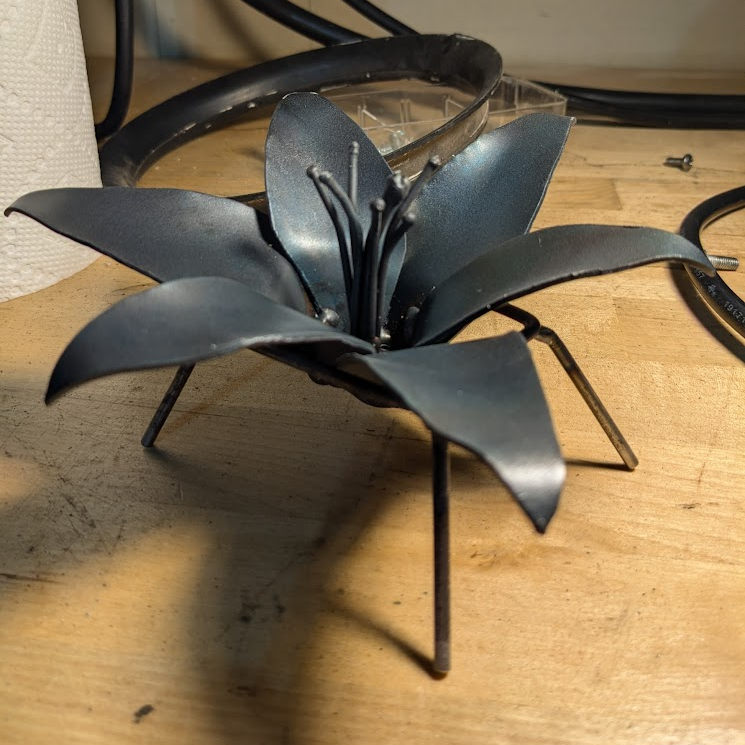
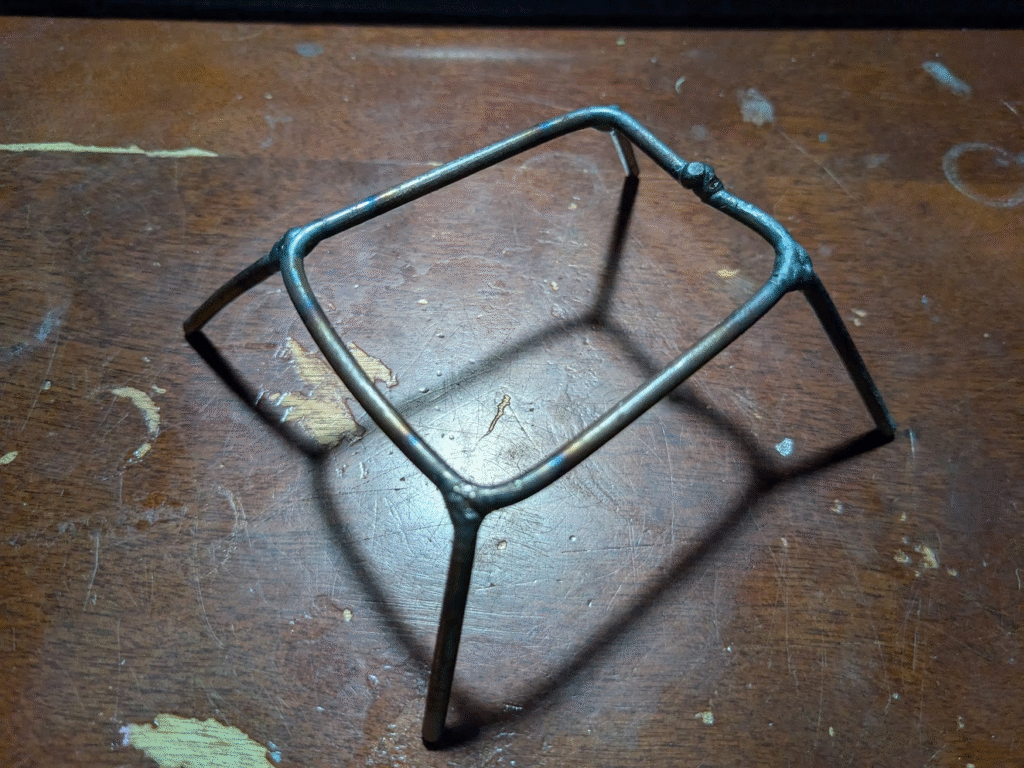
Adding a Finish and Stand
Remember how I used a blowtorch to try soften up one of the petals so I could hammer it? Well, that left a mark on a section of the metal, which reminded me that I could blue the metal. I took the blowtorch to the rest of the metal to blend the mark and give a pretty uniform color. To make sure it stayed and to further prevent rust, I also sprayed on a couple coats of clear acrylic on each face of the flower. Then, to make sure it would sit nicely somewhere if my sister wanted to display it, I made a quick stand from bending and welding together the same rod I used for the carpel.
In the end, I think the sculpture looks pretty good for a first try at making art with metalworking. Also, the last time I picked up a MIG gun was last summer so my welding’s a bit rusty. I haven’t really worked with bending metal like this before, normally sticking to simple stuff for machined sheet; same with applying coats to metal, which I don’t do much. As with many welding projects, I learned a good amount about prep-work from this project.