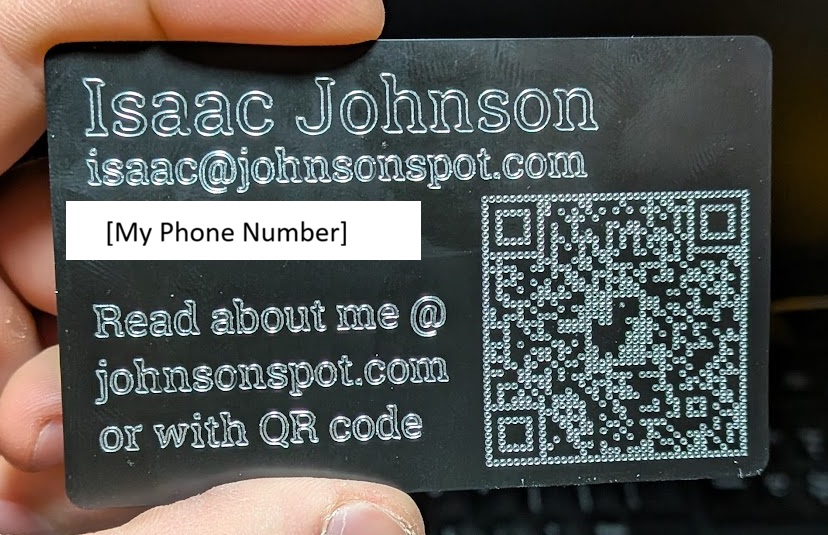
During lunch with some mentors on my old robotics team who happened to be in Madison, the topic of business cards came up. We talked specifically about how a launcher that you could use to hand one out from across the room would be cool, but before I can make that I need some business cards first.
Designing Work-holding for Etching
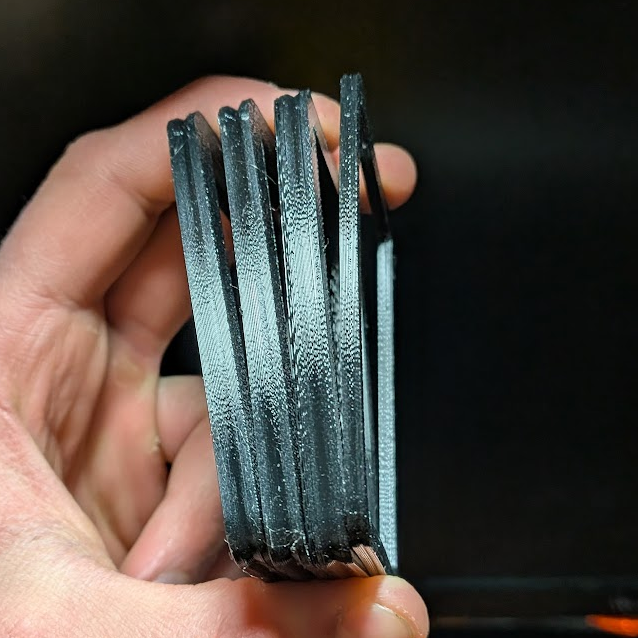
I like to be flashy and the whole point of a business card is to be memorable, so I wanted to use a CNC router to etch business cards rather than just sending a graphic off to be printed. As a first step I ordered a cheap pack of blanks from Amazon.
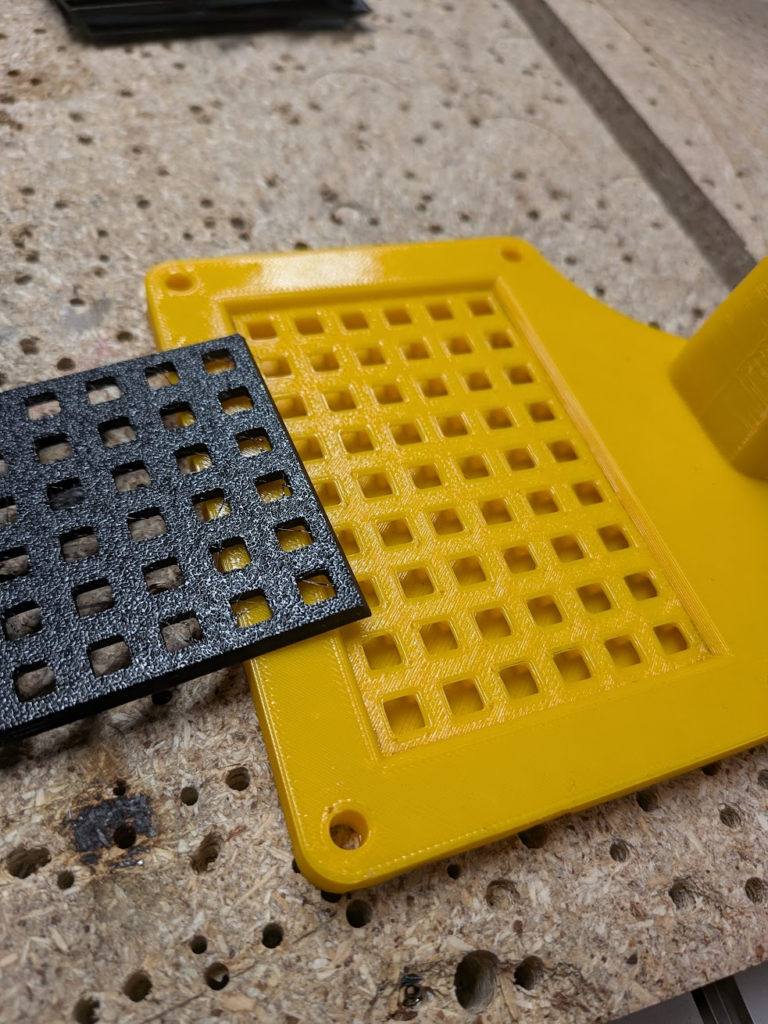
One of the main reasons I did this project was to play around with vacuum work holding, which our machine doesn’t have built-in. This meant I had to design an adapter for the vacuum we normally use for chips to attach to a stationary pad. To ensure a good seal between the card and the adapter, I designed a couple iterations of a compressible gasket that slots into a body I can screw to the router’s bed. My first prototype had a channel leading from a mount for the hose to the gasket, which didn’t work to well. The .009″ thick blanks I ordered – which I didn’t realize was so thin but should have guessed – bent to fill the space it wasn’t supported until it rested on the pegs meant to attach the gasket.
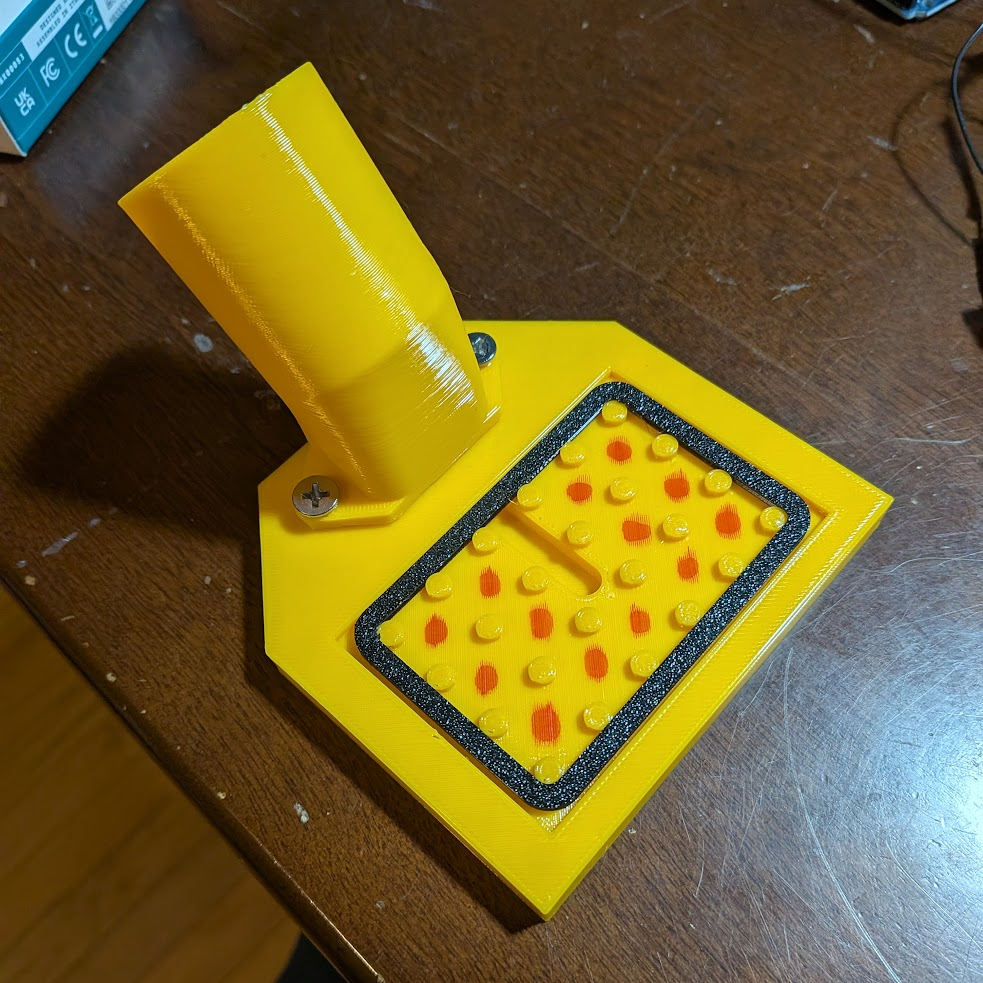
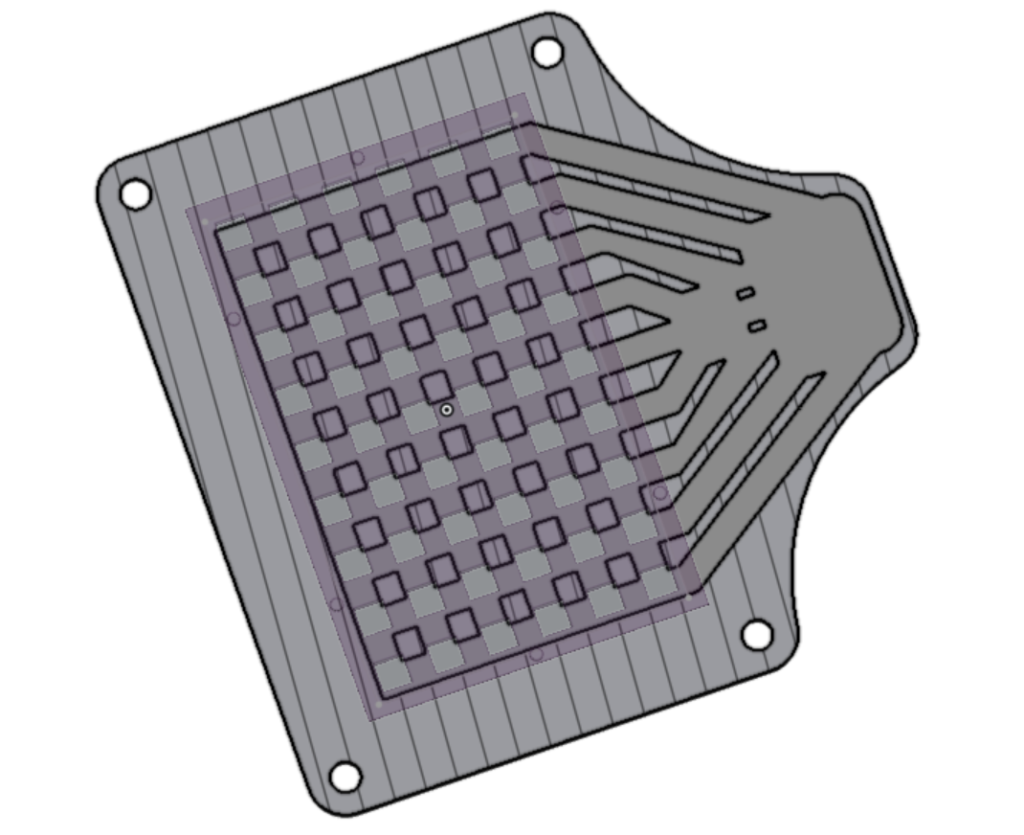
Testing showed that I needed to spread out the vacuum’s suction for better holding and to support the whole area of the blank, so I made a larger backing out of TPU with more channels and holes to spread the vacuum’s suction. I haven’t taken fluid dynamics yet nor any classes about pressure mechanics, so my approach is more experimental than calculated. As such I played around with the geometry and printing parameters of the pad, printing some with different infill concentrations and internal geometry to improve the effectiveness of the pad.
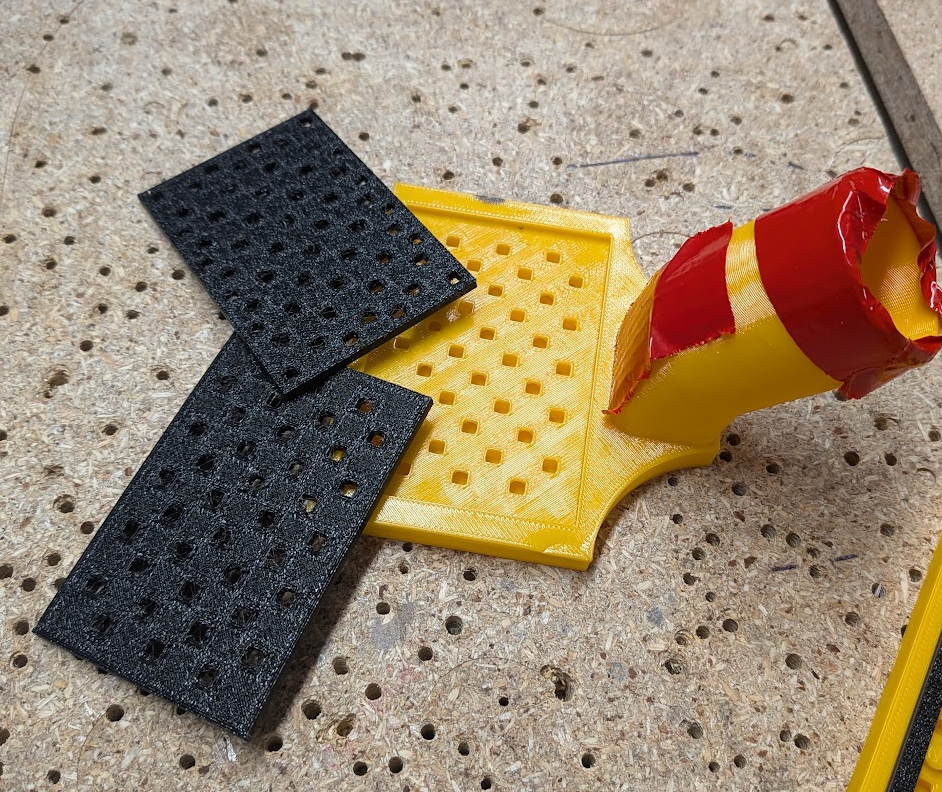
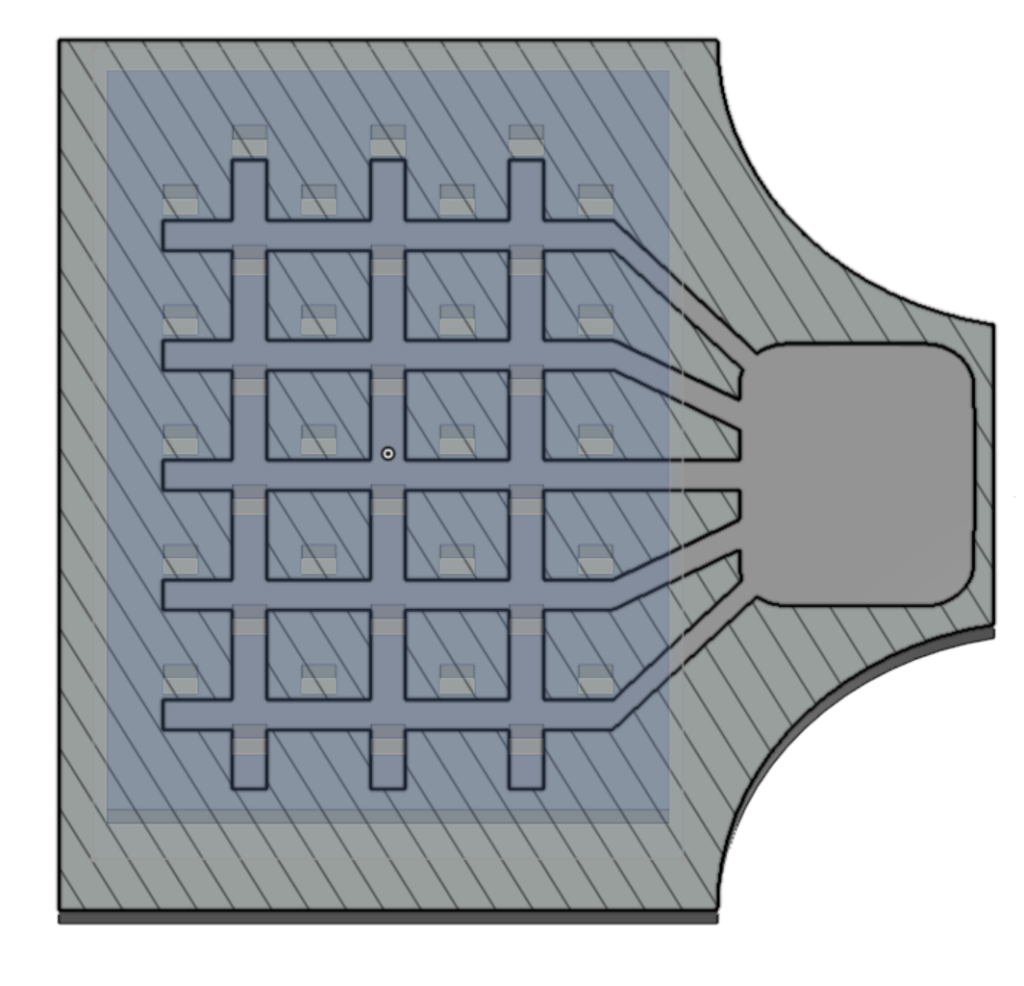
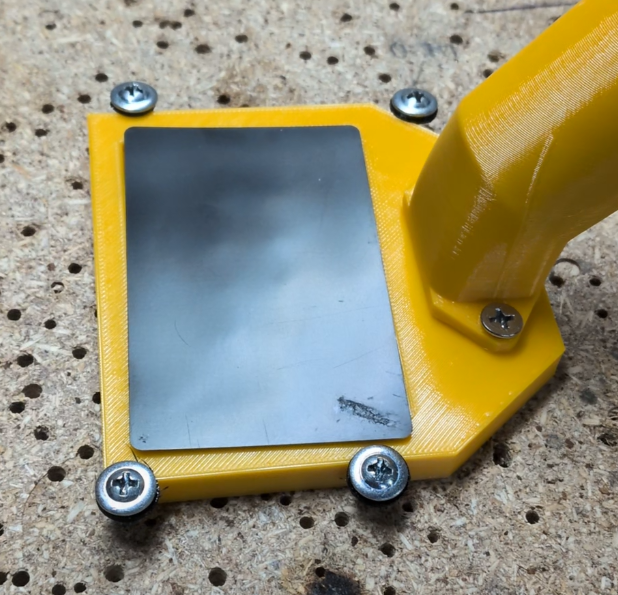
Playing around with the TPU backing pad got me to a place I was comfortable to try the adapter with a test-engrave, but before I did that I realized I needed to add some features to make it usable. This included mounting holes, alignment pegs, and pushing the hose attachment point farther away from the blank holding area for spindle clearance. After a test cut with these upgrades, I noted that the middle was pretty well held down but at the edges of the blank the drag-bit I used could easily drag around the blank.
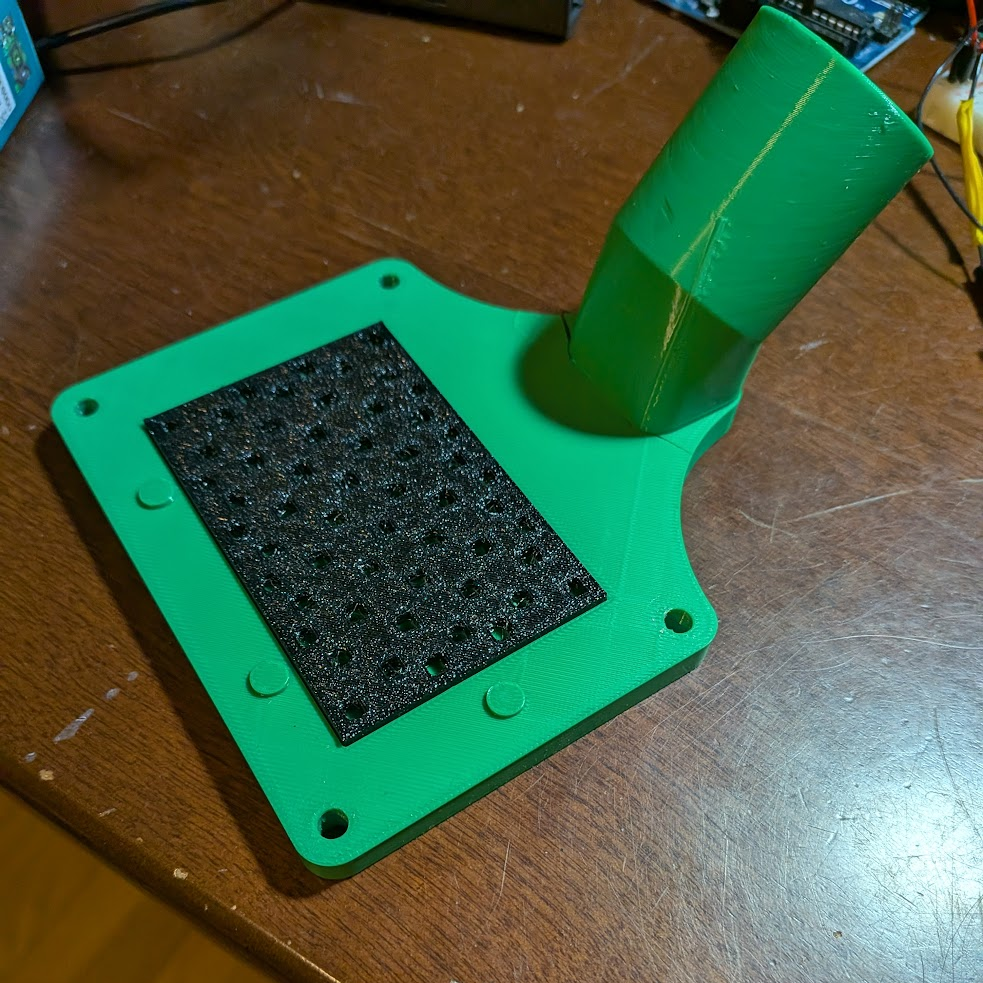
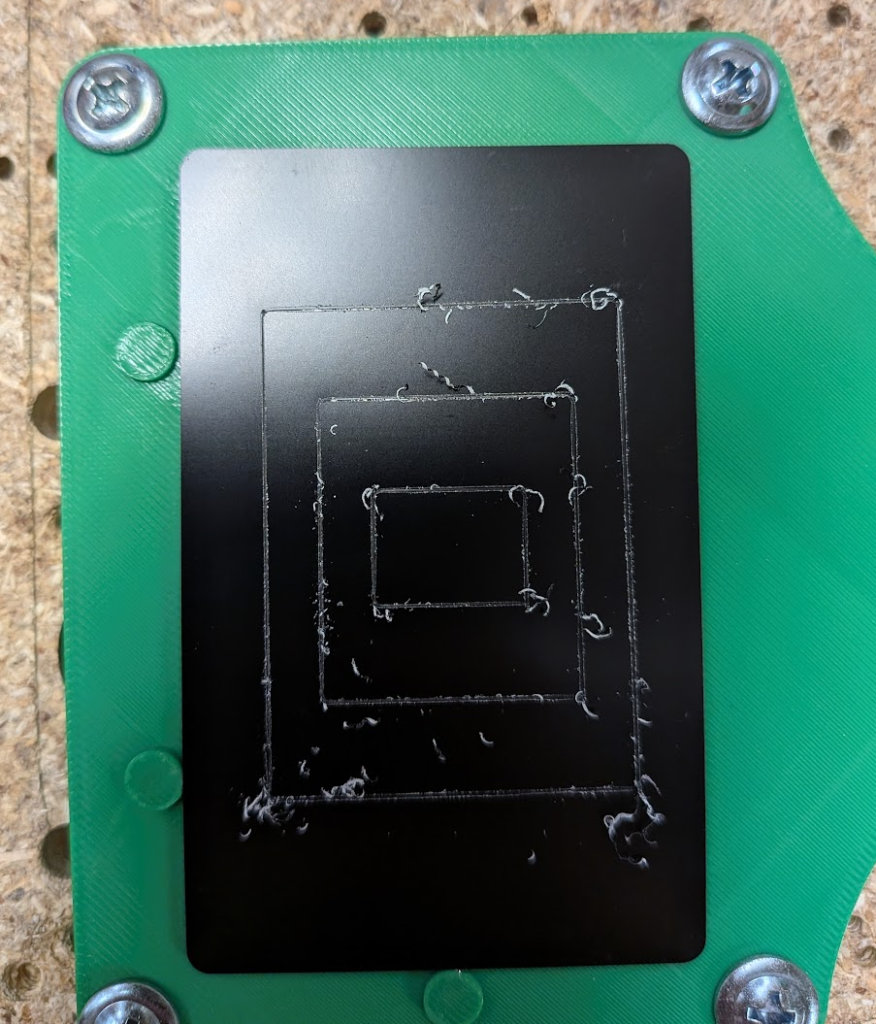
Using what I’d learned, I made a final vacuum holder that was wide enough to spread suction to the very edges and corners of the card, as well as having much more open internal geometry to hopefully strengthen the vacuum’s suction at all points. In practice, these changes worked well but still allowed some slippage. To combat it, I got lazy and added some pegs on the TPU pad to restrict the motion of the blank.
Engraving the Cards
One of the most important things on this card was a QR code, originally going to the main page of this portfolio but now going to my About Me page.
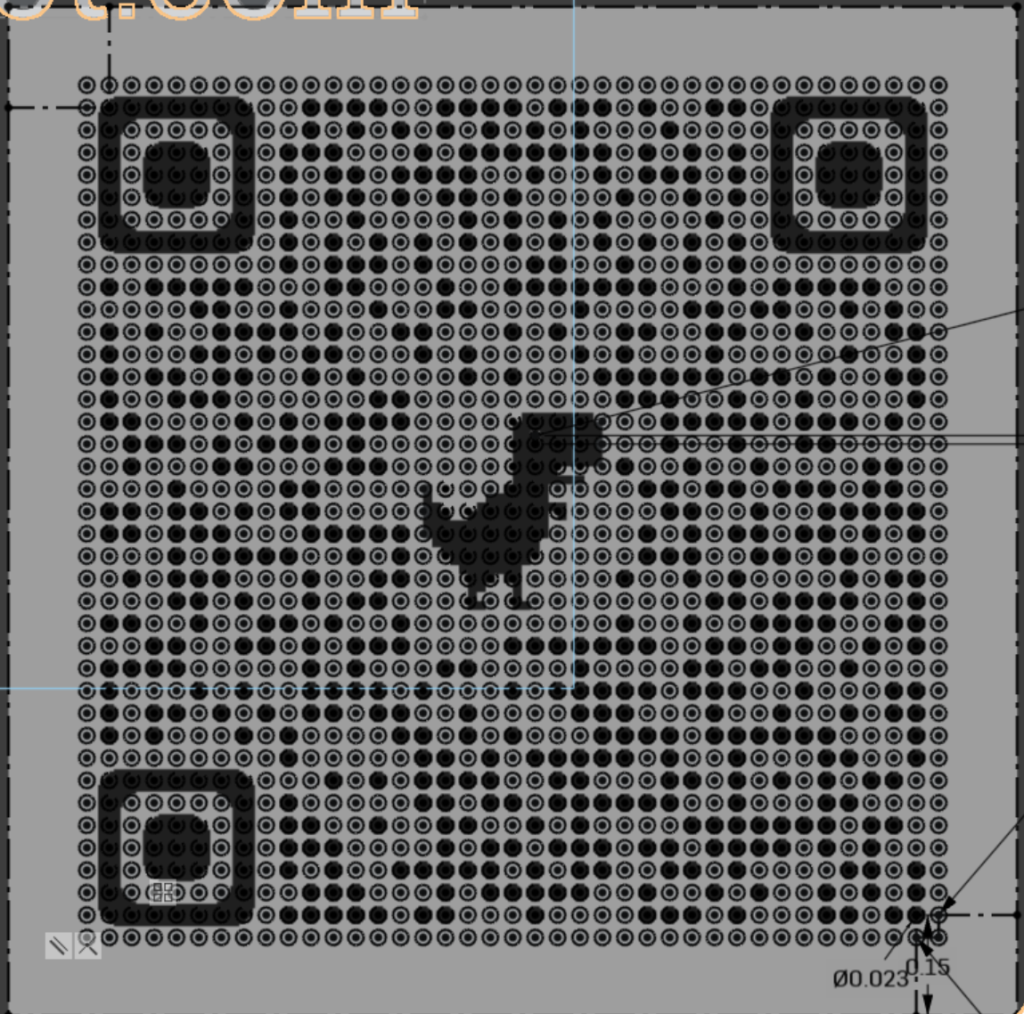
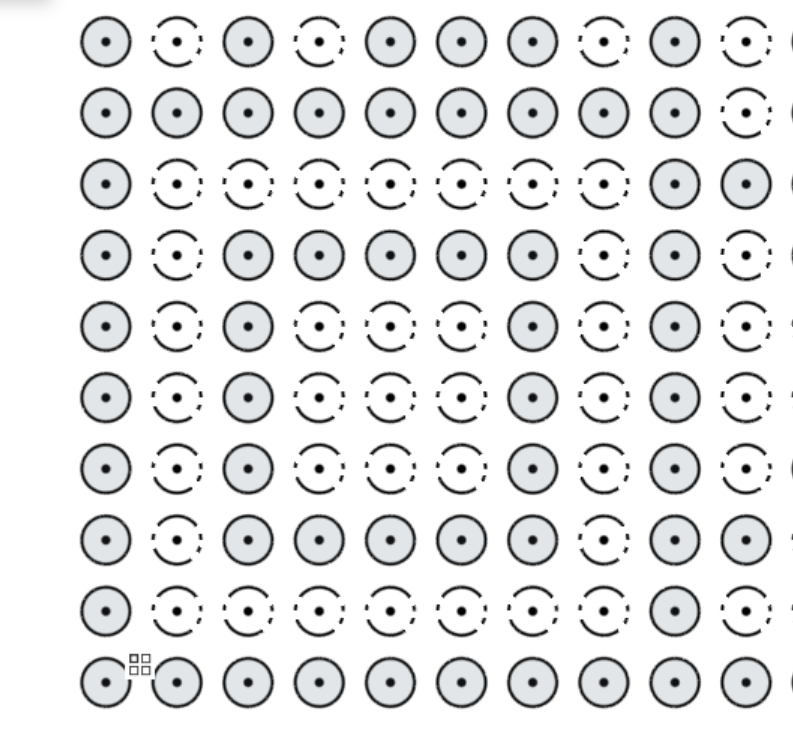
To etch a QR code I need a step file of card with material removed in the shape of the code that Fusion 360 can use to create g-code toolpaths. I tried this the easy way with PNG to DXF or DWG converters online, a format I could import as a usable vector in CAD. None I tried could pick up the dots that google generated QR codes use nor were very accurate for this use in general, so I switched to my manual backup. I imported the code as a PNG for a reference, then created a pattern of circles to act as easy-to-select-and-generate-g-code-for pixels. I then went and selected each circle that was over a black pixel/section of the code, making them construction geometry that Onshape doesn’t use to create an extrude-cut. When I’d made all the black pixels construction geometry I extruded the sketch of the circle pattern, which put a series of dots in the model that the router could trace over with the drag bit. This would expose light, shiny aluminum where the white pixels are and leave the black coating on the blank where black pixels are.
I initially wanted to try engrave both sides of the card, with one side being focused on personal information and the other on this portfolio. Unfortunately, the back of the blanks etch poorly meaning I can only use one side.
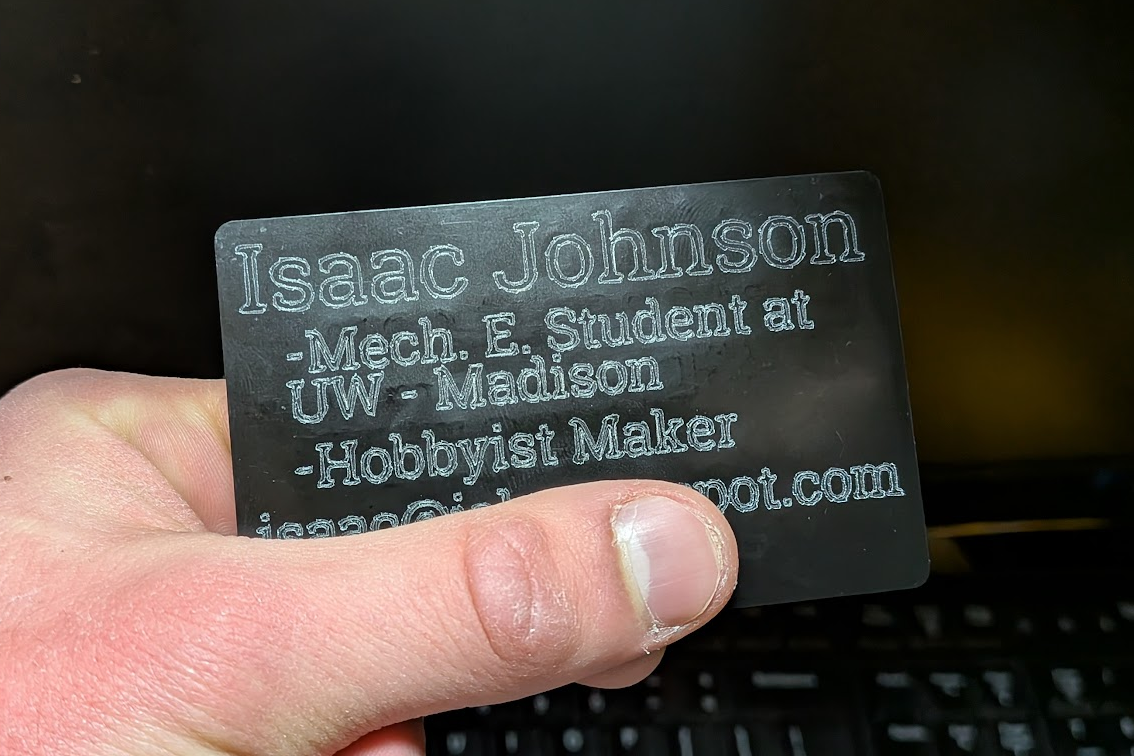
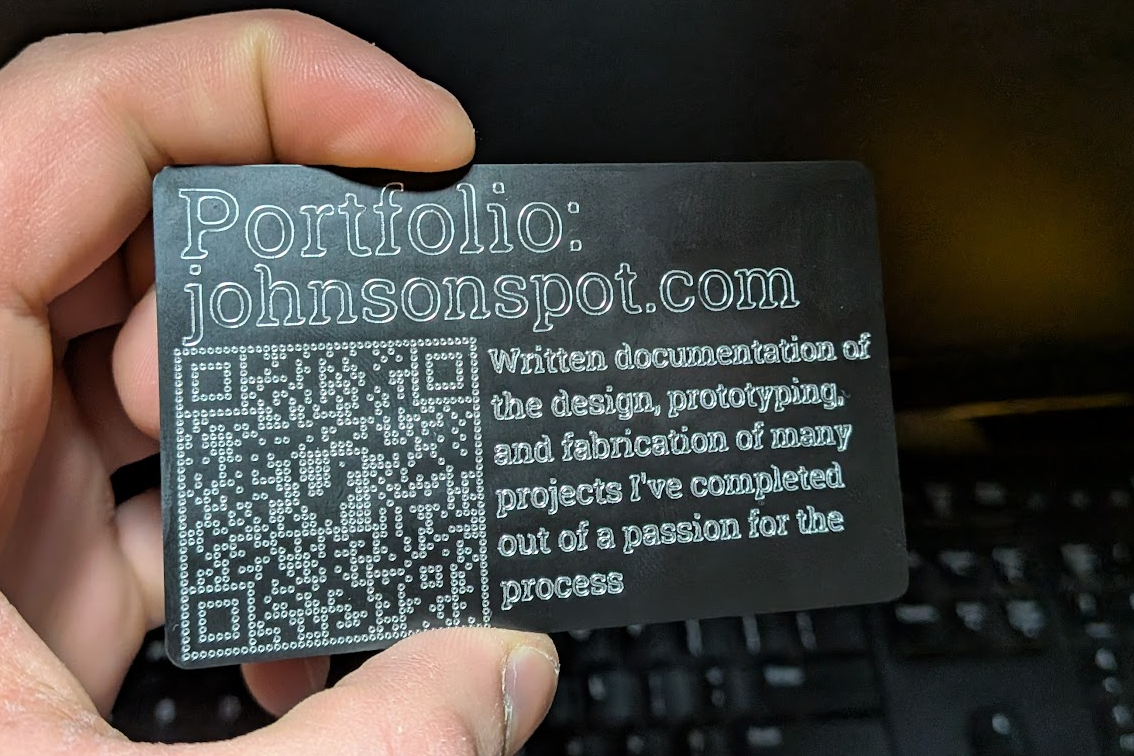
I used the same process with an updated and compacted card design, shown below. One technical change I made was to slightly increase the size of the circles forming the QR code, making the white pixels closer to the size of the black ones and much easier for a camera to read.