A couple summers ago, soon after learning to weld, I tried to tackle this project. After reaching the point of having a welded metal frame and the beginnings of shelves, I gave up frustrated with how difficult the task at hand was.
At the start of this summer I needed something to keep myself occupied before I got busy, so I returned to the hunk of metal taking up space in the closet and finished it up. Since I started it prior to the existence of this portfolio, I don’t have any pictures to document the process of making the frame. I also took few photos of my progress this summer, with the worse excuse of not thinking I’d do a writeup. Sorry about that, but I’ve tried to make do with CAD models and pictures of the final thing
Inspiration and Giving Up
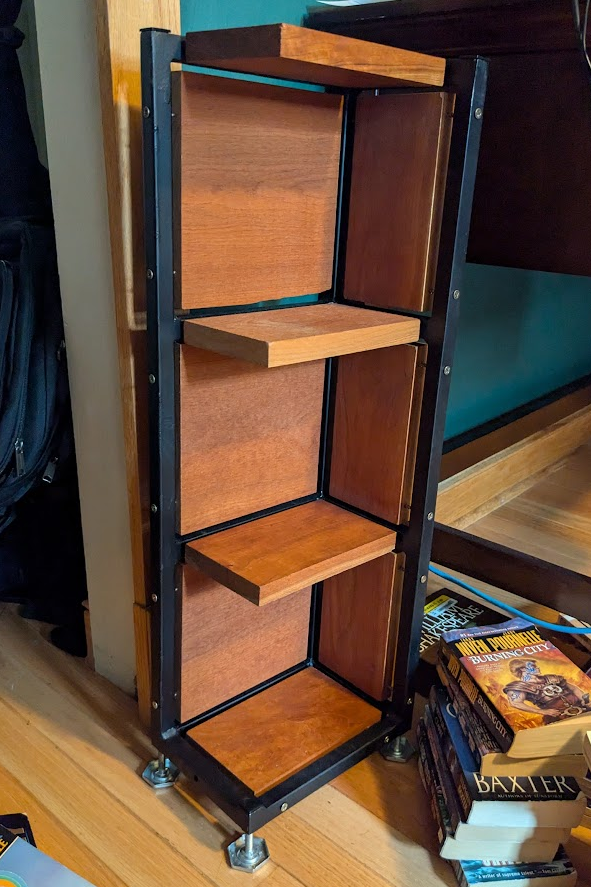
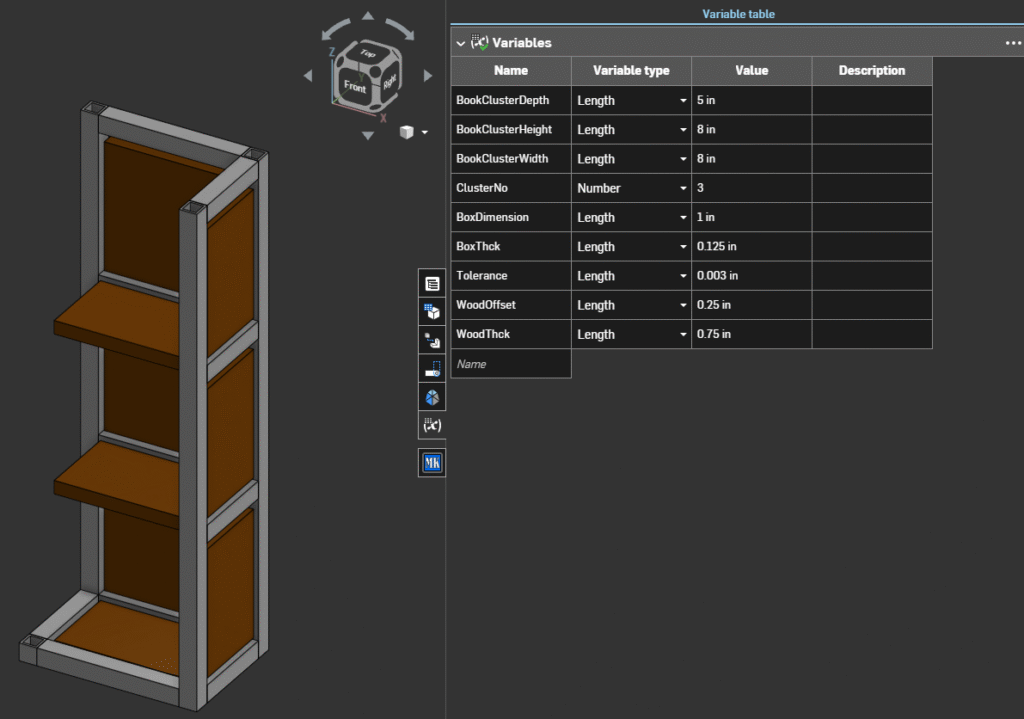
A long time ago my dad made a pretty nice shelf for my sister and I, one with a black frame and floating cherry panels. 2023 me wanted to make a bookshelf, so taking inspiration from the one in front of me everyday I drew up a concept in CAD. I’d just learned the tool, and to get more comfortable with it I tried out features such as variable tables and patterns for a way to visualize what I wanted.
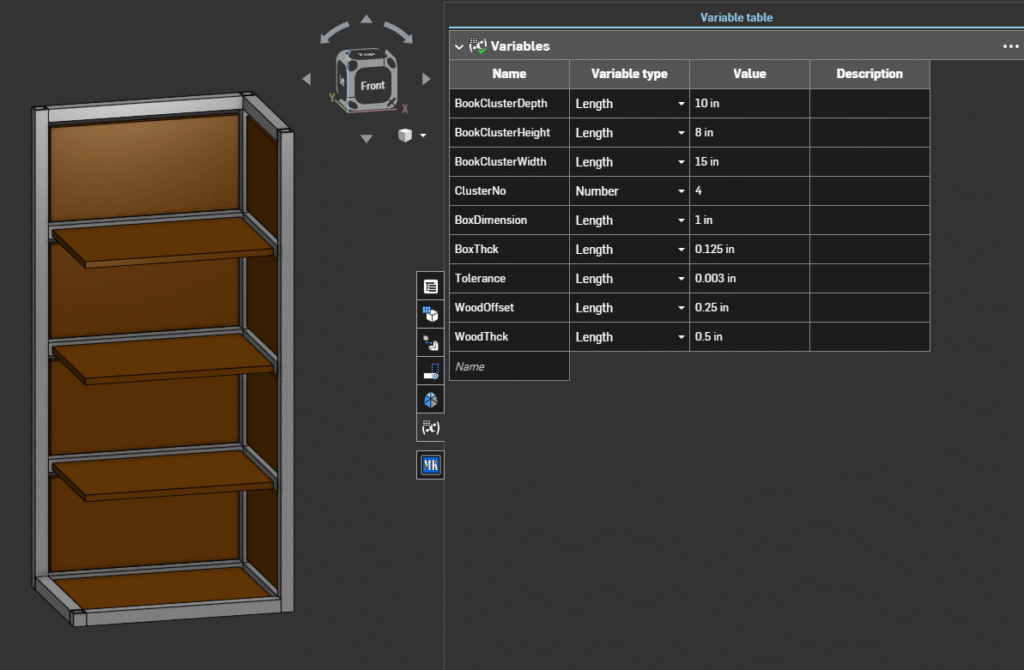
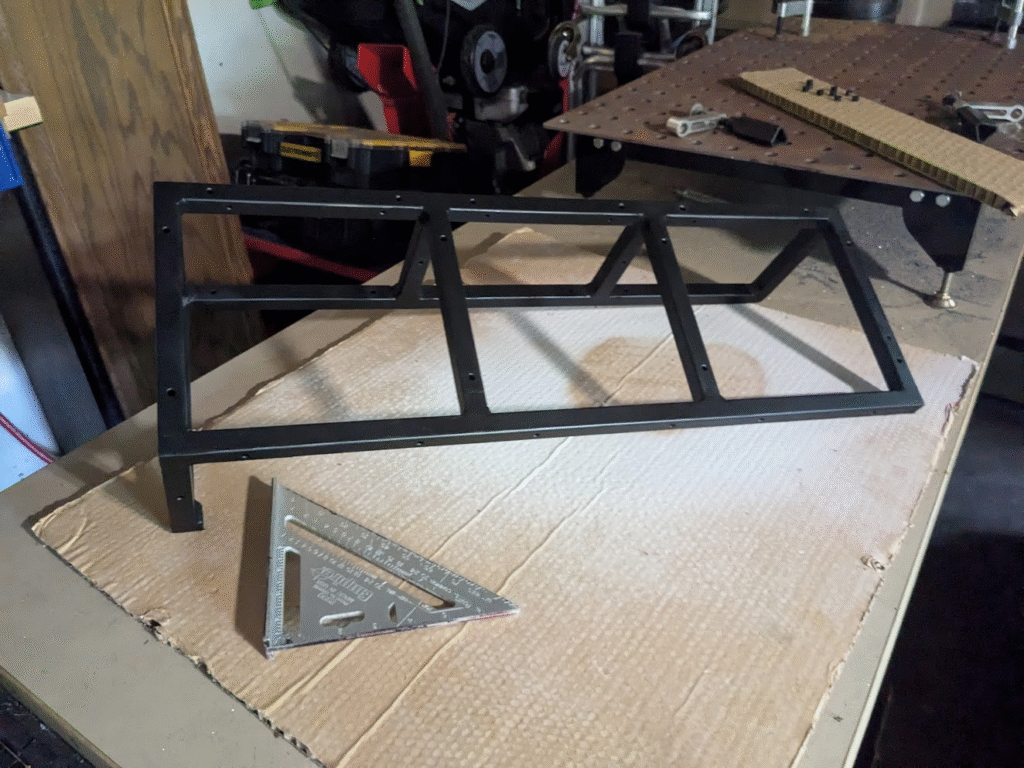
I wasn’t too experienced with planning projects at this point, but this was a pretty simple one to design especially when I set up a model to be configurable. Eventually, I settled on a frame holding 3 distinct levels of shelves and panels retaining the books, sized appropriately for the stout paperbacks I prefer. Originally I planned to braze 1″ aluminum tubing together and, somehow, float wood panels 1/4″ away from this frame on all sides. Probably using screws.
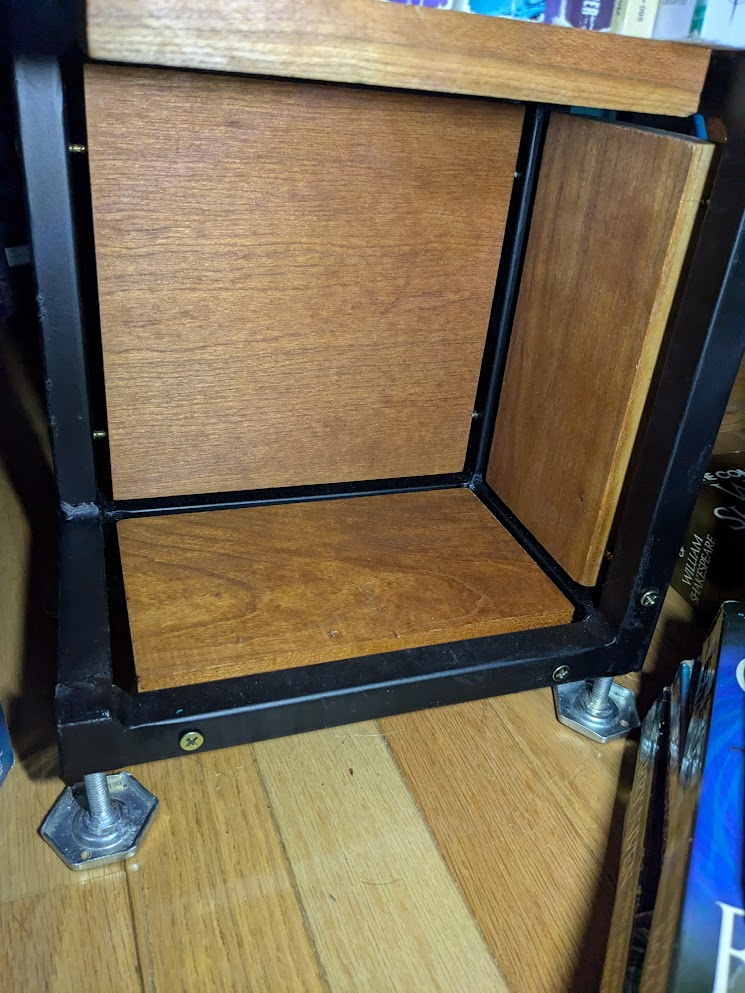
Before I started cutting metal to length, my dad convinced me to use 3/4″ steel box since we had some on hand. I’d have to weld rather than braze, but I was more than eager enough to practice. Using an angle grinder, I cut the steel to the size I called for in my model and did some minimal grinding to prep for welding. Afterwards, I used magnetic welding squares to line up all of my box at right angles and did my best to MIG weld everything together; this wasn’t very well, as I got very poor fusion and didn’t correct it. Somehow I also made the structure crooked, probably due to both heat and inexperience, which made me pretty frustrated. The last parts I welded onto the frame were nuts that matched leveling feat, which I tacked to the end of each vertical tube to allow me to easily adjust the base.
Moving to the woodshop, I started making my shelves out of a piece of cherry wood. I cut them to size on a a table and chop saw, then started drilling holes on the bottom level of my frame to try hold one of the shelves. They were really crooked given that I drilled straight through tubing, and the panel didn’t fit too well. Already frustrated from my shitty welding job, I gave up for two years.
Finishing the Project – Panels
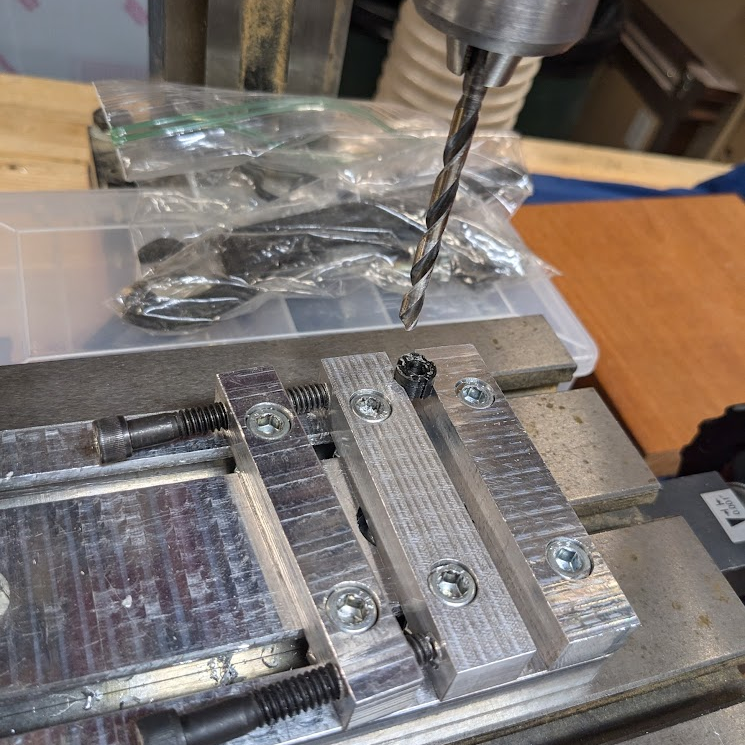
The first step towards salvaging this project was to finish up all of the wood panels. I started by marking up both my frame and shelf panels, making sure that I did so on both sides of my tubing. This allowed me to drill through one side of the steel at a time, creating a straighter hole if I was accurate enough with a tape measurer and square. To try and make the holes even more in-line, I punched and predrilled them to have more control; same for the wood holes I’d screw into, minus the punch, which I used a drill press for this time. Afterwards, I used the actual size drill bits I wanted to expand the holes before testing them. I couldn’t fully hold constrain the shelf levels since I held them on two sides and not fully up against them, so towards the end of the project I made 1/4″ spacers from aluminum rod. These I cut to length on a chopsaw, painted with the frame, and drilled on a manual micro mill. I could’ve done these on the drill press, but using the mill let me put a hole in a mounted vise a similar size to the rod’s diameter to perfectly center my holes. Of course, I accidentally lost this location as soon as I drilled it but figured I was close enough.
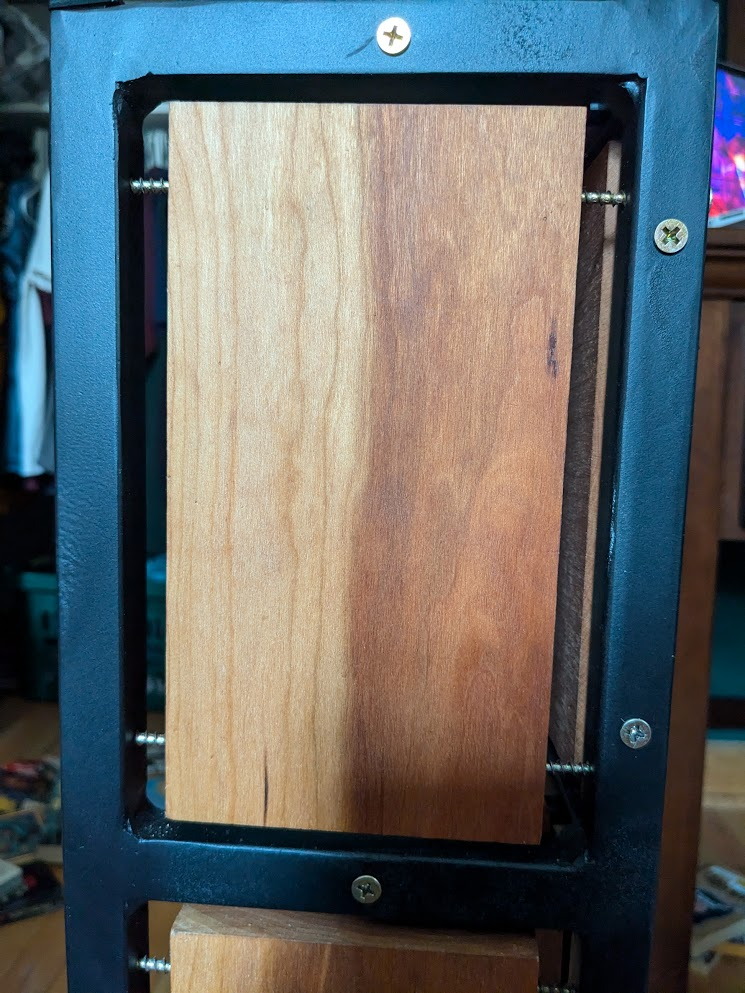
Next were the side and back panels, which I had to cut out of different planks of wood. One wasn’t wide enough to get the correct 1/4″ gap on the sides, so I settled on a 1/2″ horizontal gap on the side side panels that isn’t too noticeable unless looked for. The process for drilling all my holes in the wood was the same, but to drill the screw holes in the frame I had to slightly modify it. I planned two screws on either side of each panel, which let me avoid making more spacers and were easily accessible on the sides of the frame. As I measured and marked the holes, I used two different spacings to avoid the screws of each panel interfering. Drilling these holes straight was a bit challenging, as I couldn’t access the tube face boxed into the frame. Instead, I punched and predrilled the outer face before initially using a straight hole jig to get the inner face, then after I broke a couple drill bits switched to transfer punches instead.
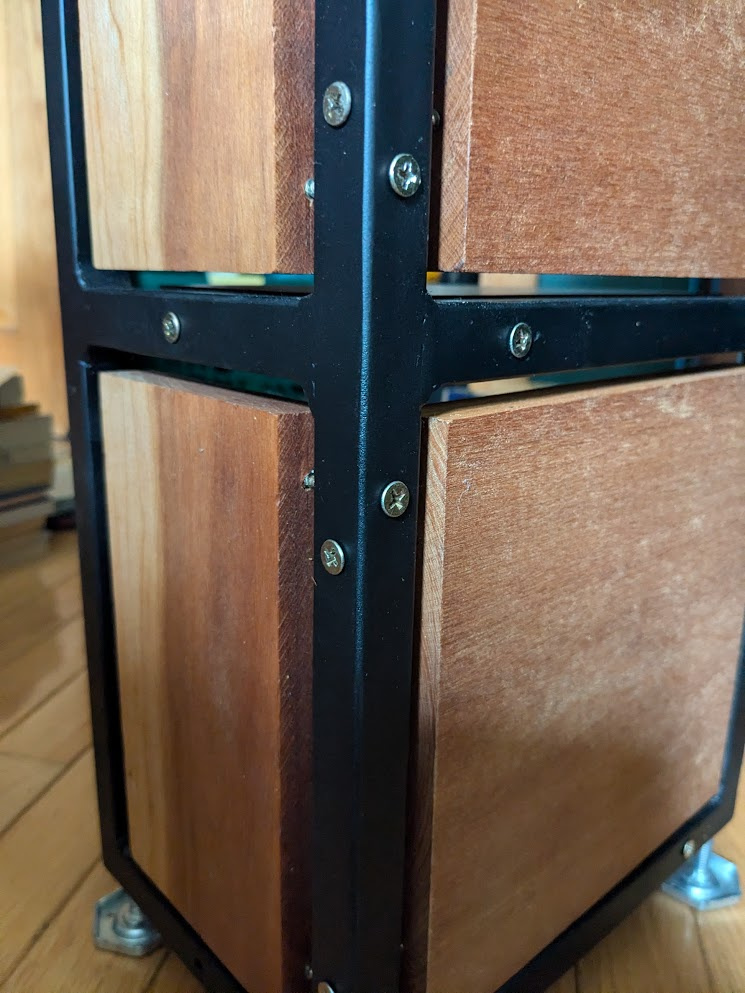
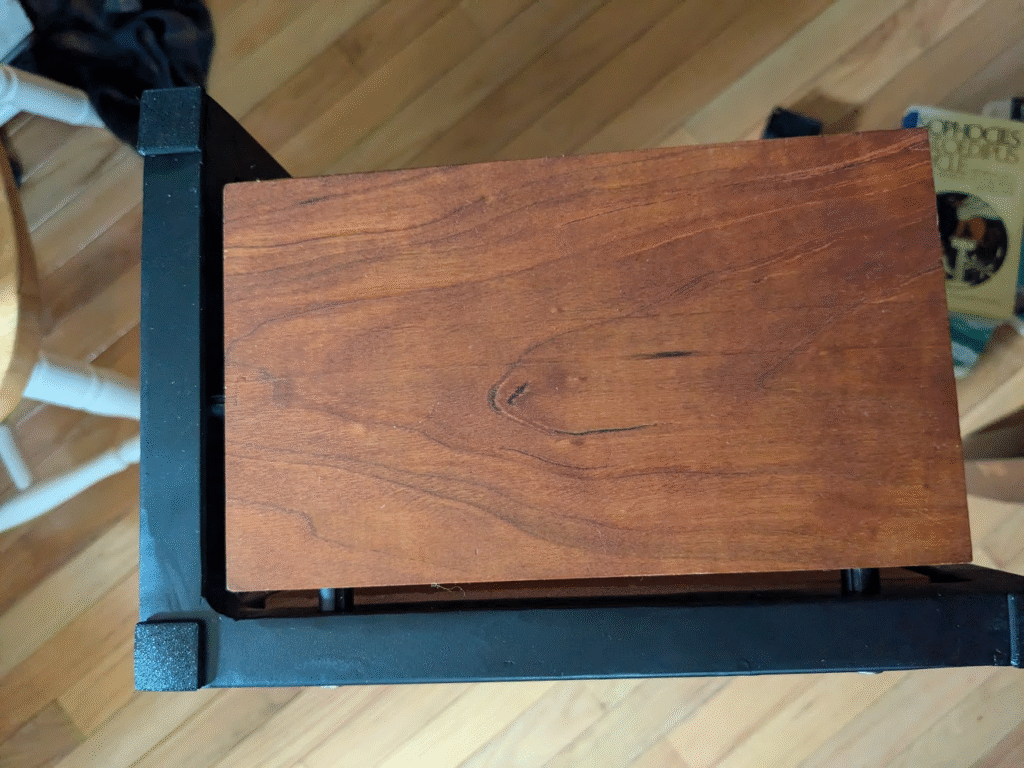
When I drilled the holes for each panel I tried to keep the wood grain going the same way. All of the narrow panels line up with each other and the long-way of the shelf levels, while all of the square panels have parallel grains to each other and the shelf levels.
The last step before adding finishes to everything was to test that every panel attached to the frame correctly. After some adjusting and redrilled holes in the wood, I countersunk every hole so that I could put in a countersunk screw and have it look nice. To try make a nice 3 tone aesthetic (minus the pragmatic mounting feet), I made the countersinks shallow enough where the brass colored screwhead stuck out enough to be prominent yet deep enough to not have a gap.
Finishing the Project – Finishes and Final Touches
To make sure that this shelf lasted and looked nice enough to hide its defects, I added protective oil and paint. The wood got a couple coats of oil applied to all sides — without any sanding, which I planned on doing before my dad stopped me from destroying the cherry’s aging. It took a bit to prepare the metal for paint, as I still had to use a die-grinder to make the bulbous welds more presentable and an angle grinder to remove the scale from every surface. Next I wiped down the whole frame with acetone, then sprayed some combined paint and primer over the whole frame. There are a couple spots where I sprayed too close to the metal and caused pooling and bad texture, but for a first time paint job it turned out pretty well.
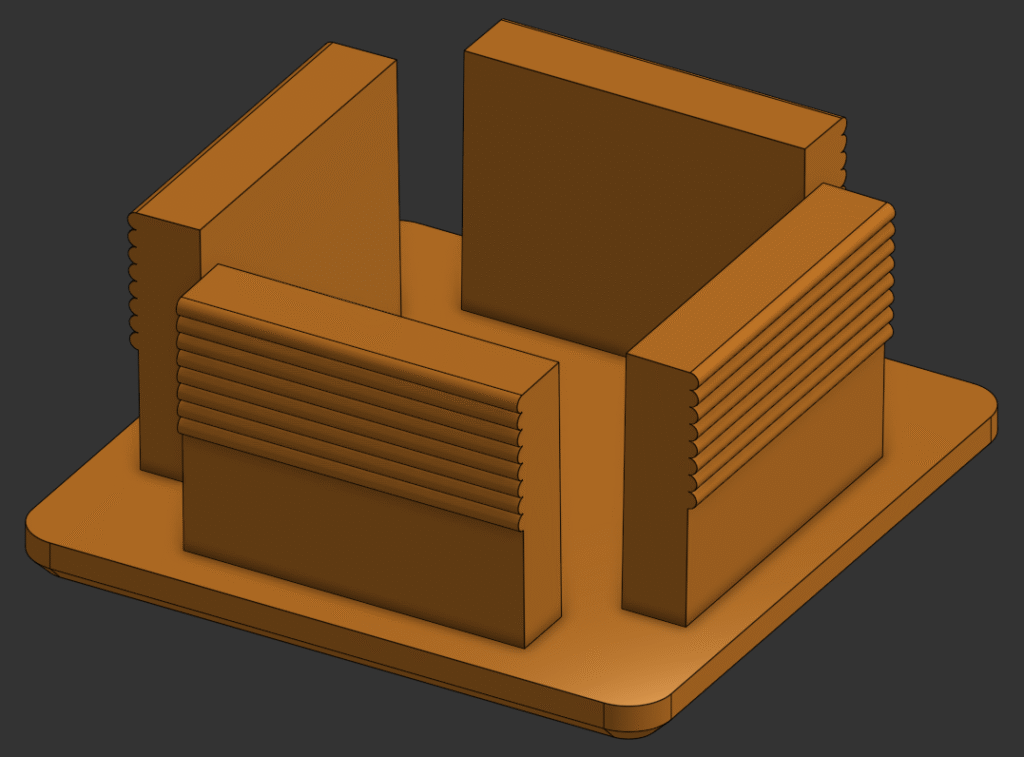
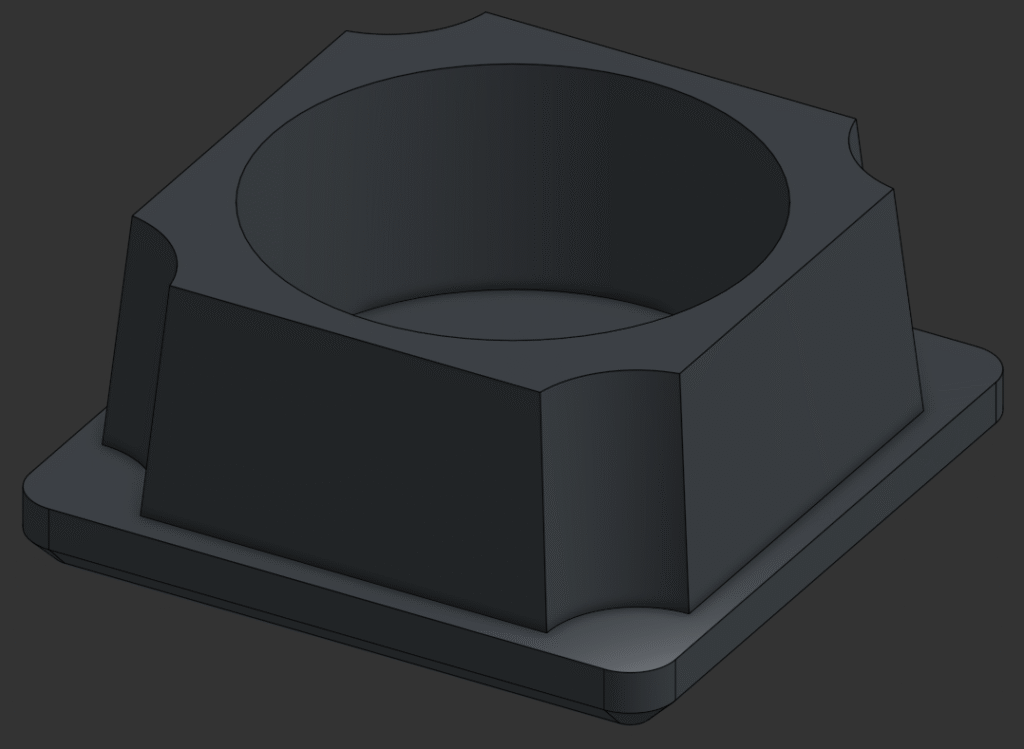
The final touch I’ve made to the shelf is to put endcaps onto the open tops of tubing to hide some scars of poor metalworking. For my first couple prototypes, I made a more conventional design with ridged tabs that bend to provide a slight elastic holding force. I tried these out of TPU, PetG, and chopped bamboo Wood PLA with limited success, needing more iteration to find out what needed strengthening and how to protect against breaking the tabs. Rather than do a lot more prototyping, I redesigned the endcaps to take advantage of TPU’s flexibility by replacing tabs with a large, relieved taper to make them easy to install and hold. After a couple prototypes to determine the size of the taper and relief, I installed the endcaps.
Takeaways
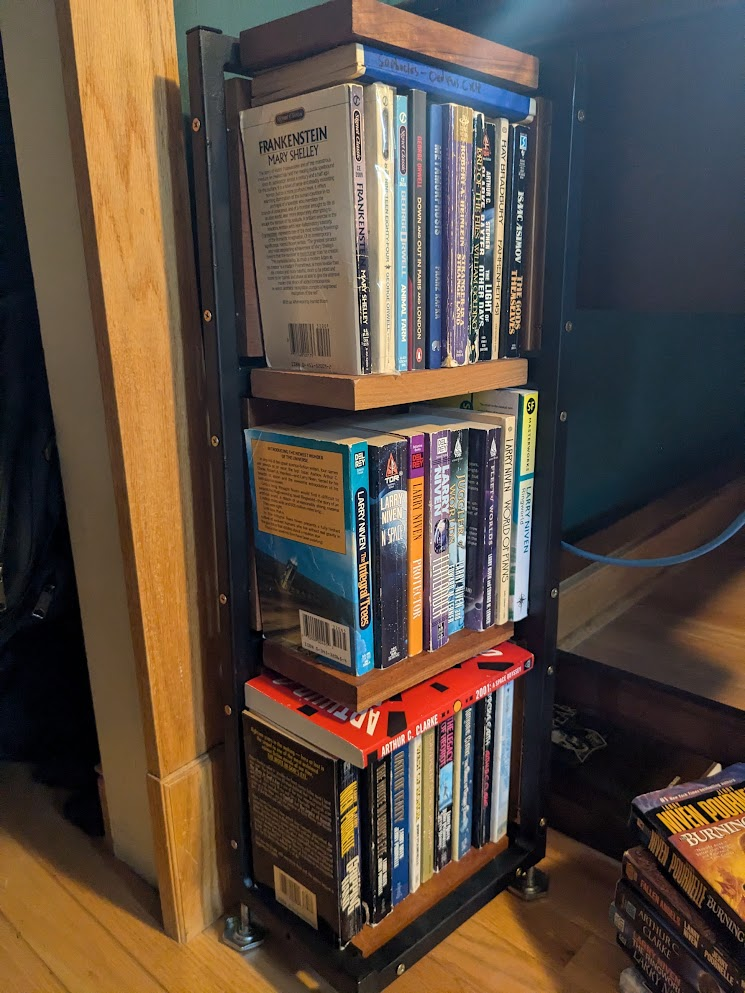
Next time I make an open sided bookshelf, which I probably will do again at some point, I need to make the right side open. At least you can see the spine of the book on this one, but I make the floating side show the back cover and not the front, more interesting one. I’m still happy with this one and it gave me an opportunity to practice metalworking skills. It also gave me some experience with problem solving on how to salvage a project from a low quality plan on the fly. Oh, and also the more tangible skills of prepping metal for painting, practicing basic woodworking, and drilling straight.