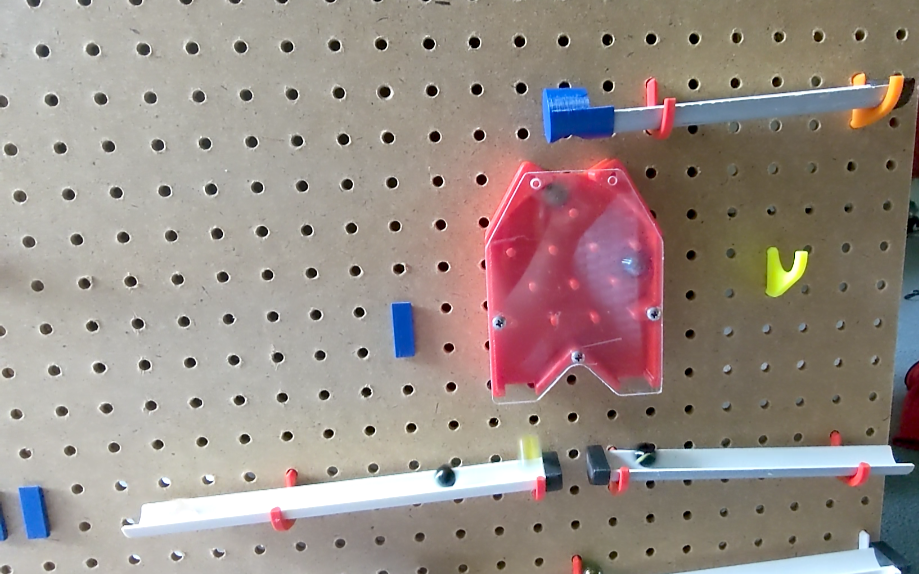
One of my mentors has a project for engaging kids at STEM demonstrations with a modular marble run, where 3D-printed components can be moved around a pegboard to create a fun and continuous path. I was asked to make some parts as well as update others, so below are some examples of what I’ve done on the project and descriptions of the design and iteration that I put in.
“Water Wheel” Update
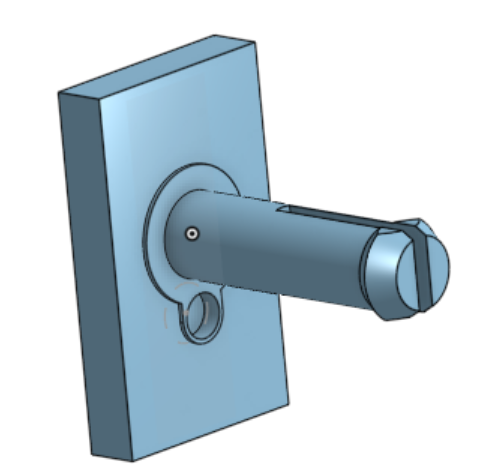
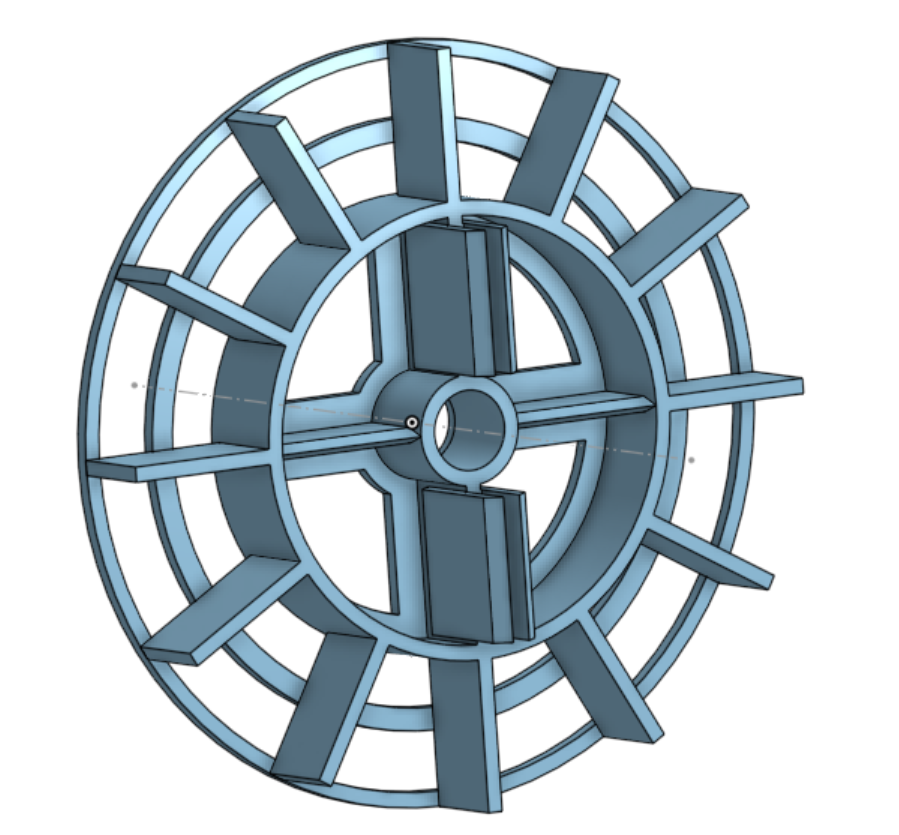
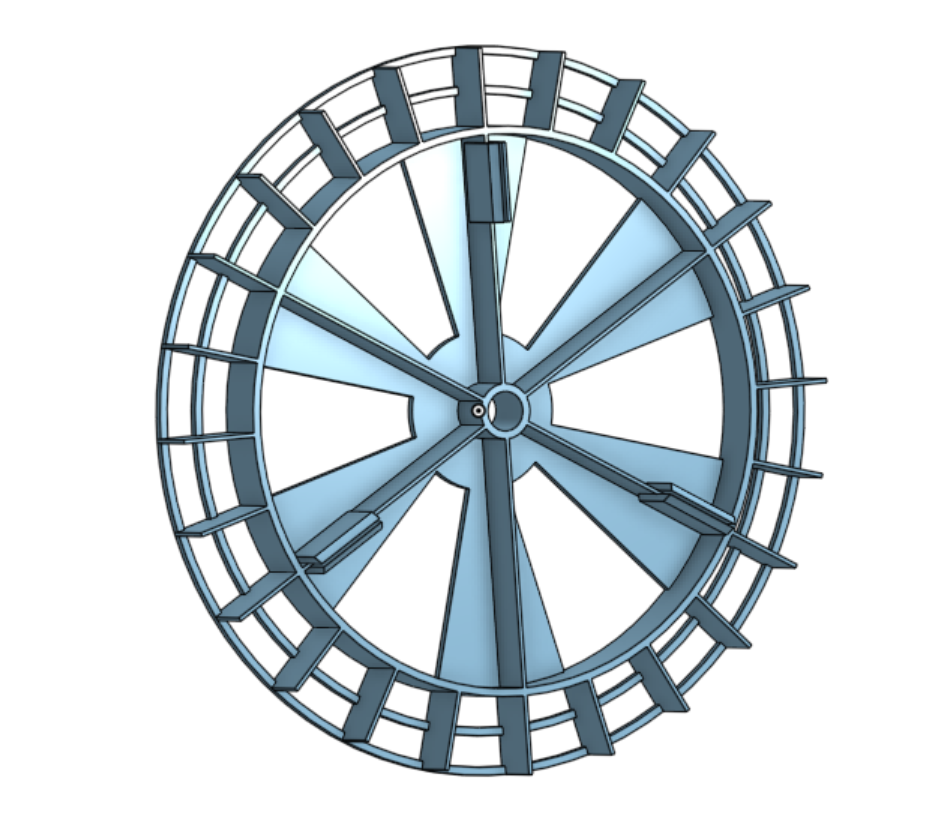
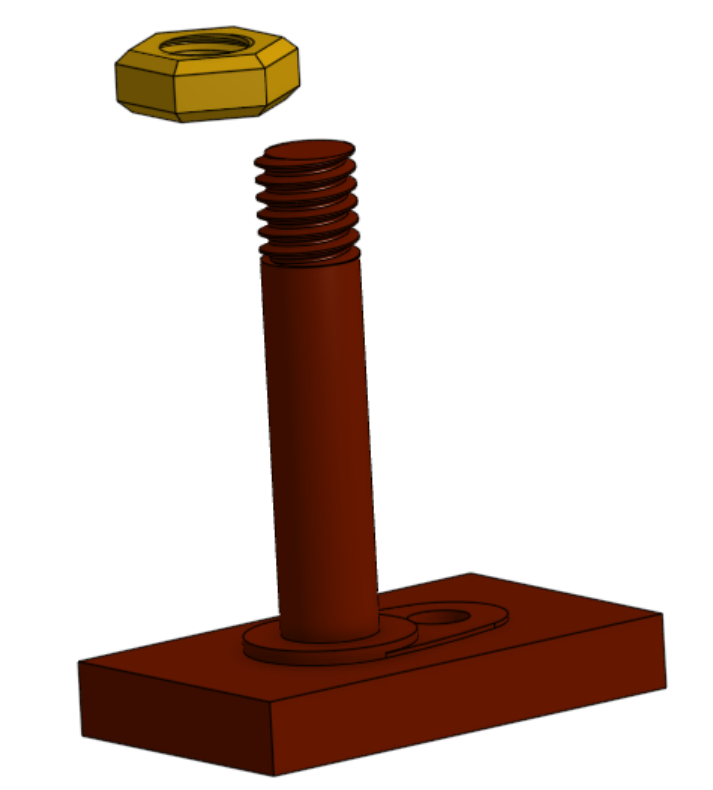
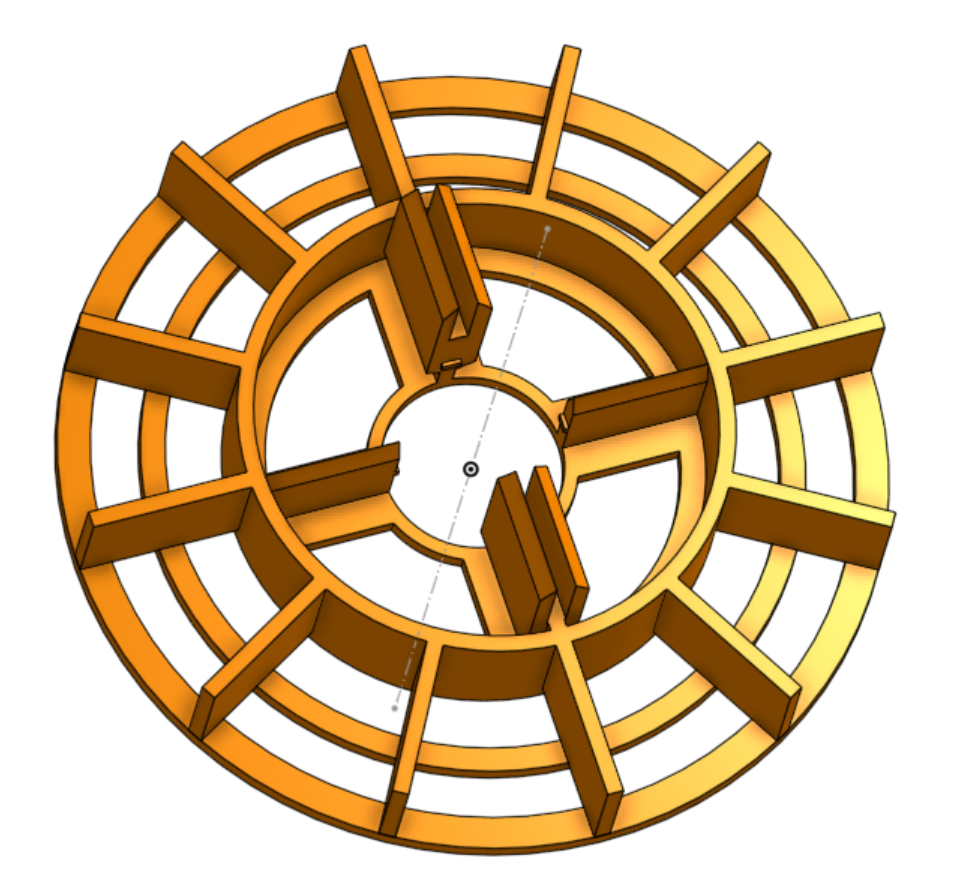
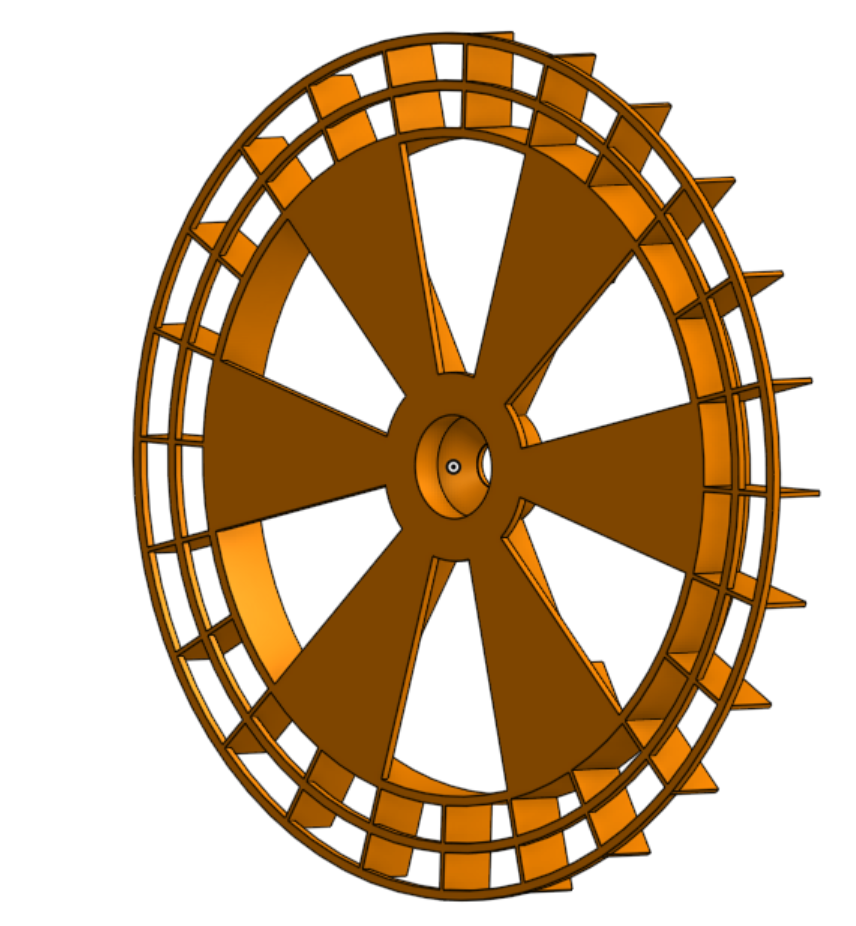
One part that I updated was these wheels where a marble would fall into divided sections and rotate, dropping the marble back into a track. The first set of images are the originals, where the wheels (printed as half a wheel, snaps together) rotate on pegs that snap into them. Marbles were getting stuck at the top partially due to too much friction between the peg and hole, so the second set of images shows how I modified the wheels. They now hold bearings and use a threaded peg to mount onto the wall, as the original peg was too large for the bearing’s inner diameter. To keep the bearings from sliding off the wheel, I added overhanging nubs on the small wheel at a printable angle, while on the larger wheel I added an internal chamfer leading from the top of the bearing up to the hold for the peg to go through. This chamfer is there instead of a straight overhang due to an issue I’ve found where 3D-Printers try to bridge across holes and mess up the part, which is solved by eliminating the need to bridge with a 45 degree overhang.
Manual Marble Gate
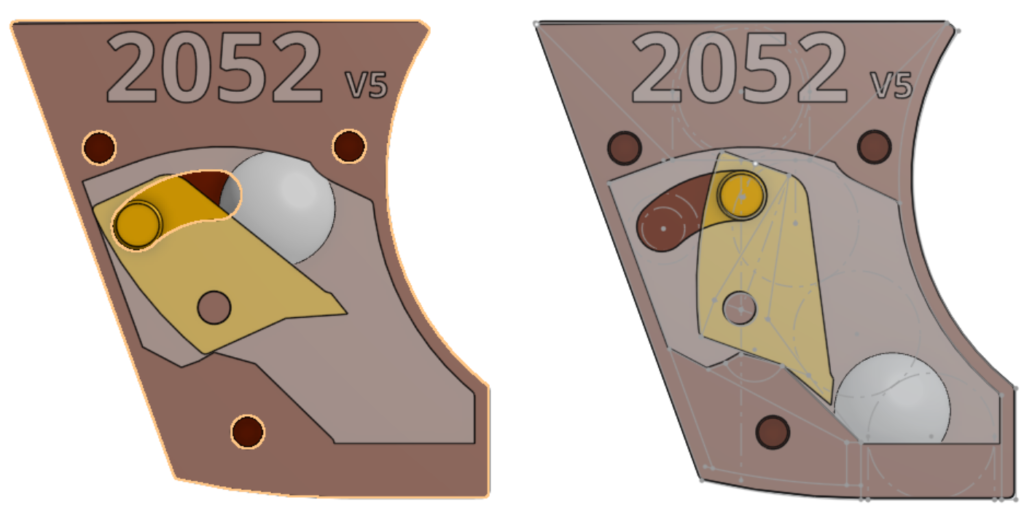
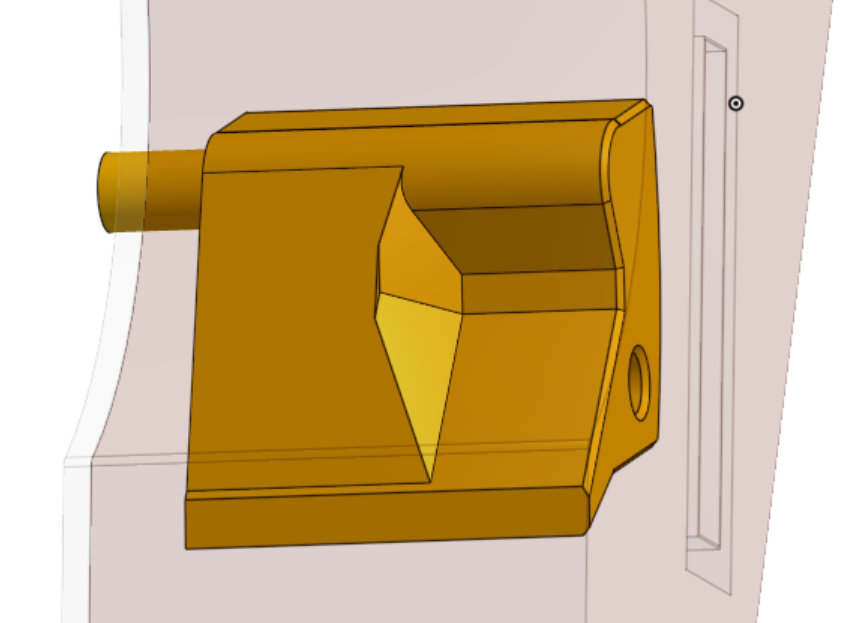
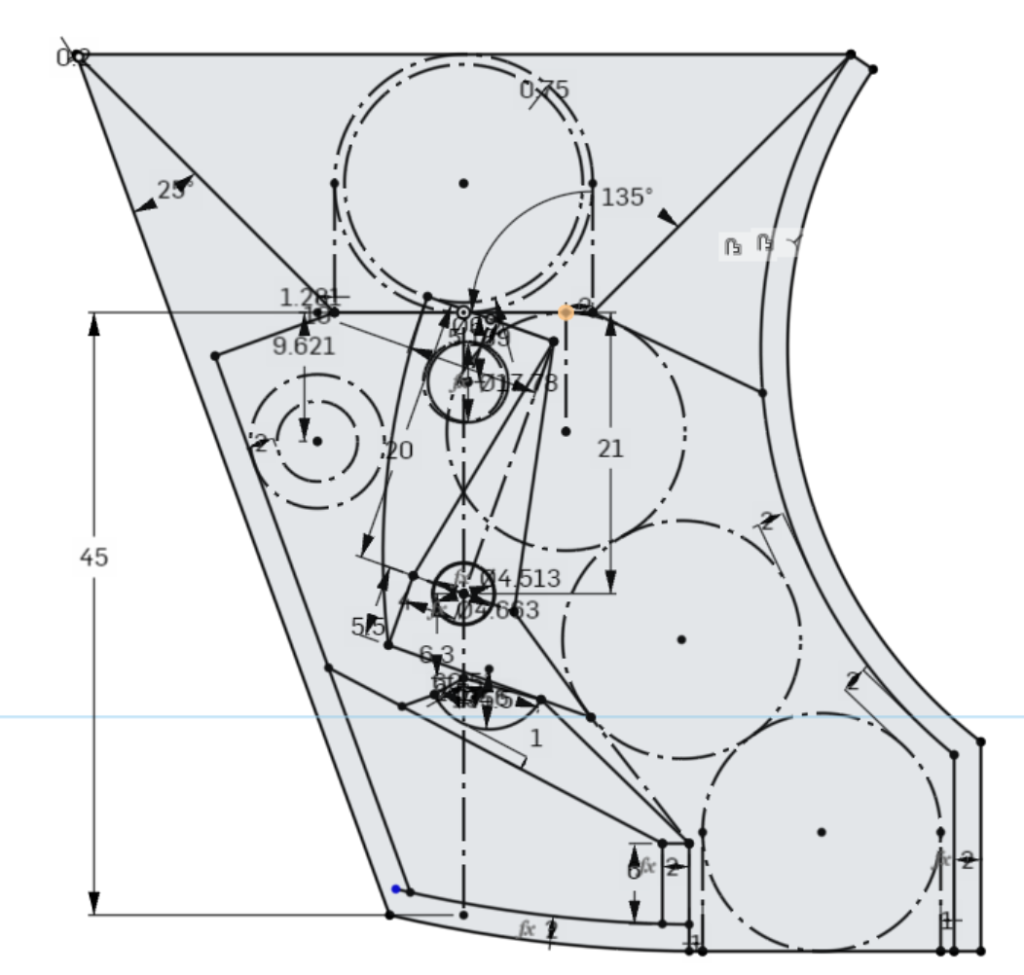
A part I conceived and designed is a gate, where a small hopper at the top collects and diverts marbles into a small hole. This hole feeds into a lever, where in it’s open state allows a marble to fall through and move it to it’s closed state, where the lever blocks marbles from dropping and must be manually reset to open. I’ve made 5 iterations of the part, aiming to solve problems like too small of a blocker or geometry allowing for multiple to fall or jam at once. The part includes a clear plastic plate to show the workings of the part.
Plug Marble Dropper
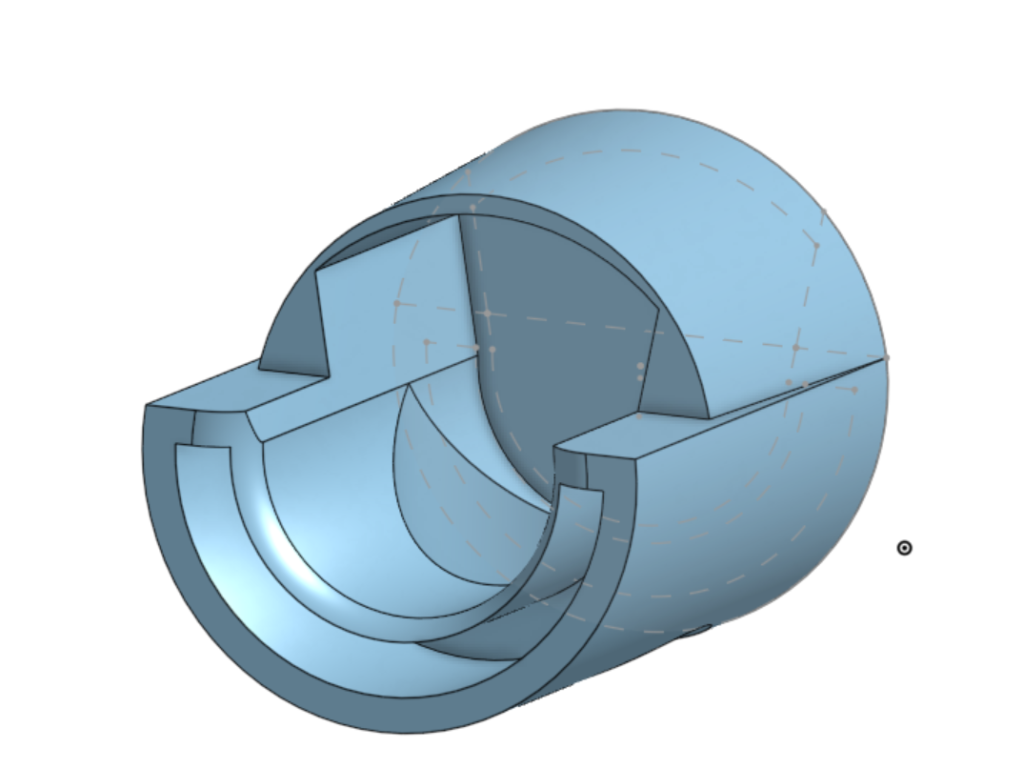
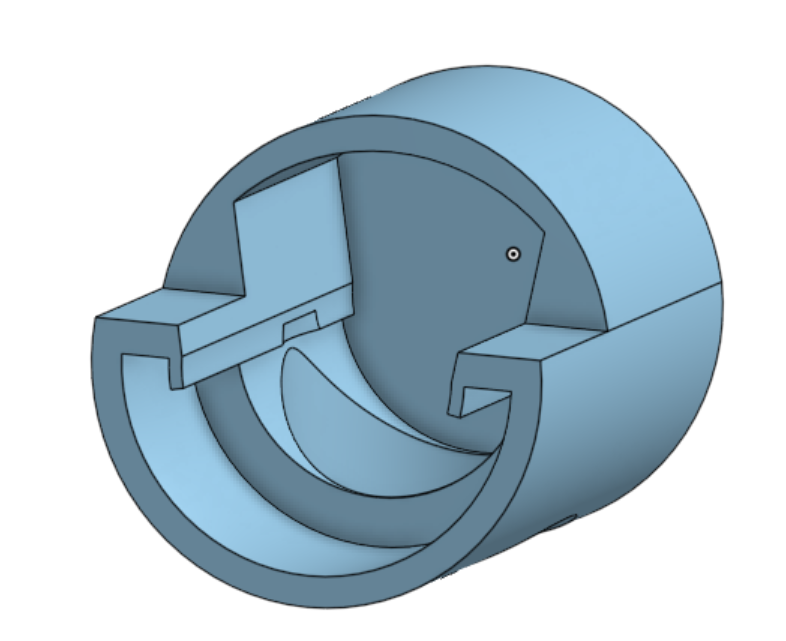
This is the first part I designed for the project, and one of the most useful. The marbles ride in 1″ PVC cut in half, and normally fly full speed off the end. Many parts, however, need the marble to be more controlled and in a specific place. This part consists of a backing that stops the marbles and a hole to fall straight down through, which helps improve the consistency of marbles falling into parts like the water wheel. This part has been through a couple iterations, like the addition of a roof to prevent high speed marbles from flying out the top or ricocheting out, the expansion of the hole after testing with a wider selection of marbles, and changing the coupling on the end from fully encapsulating the end of a PVC tube half to only holding the sides and bottom to prevent marbles impacting the start of the coupling and launching over the rest of the part. Below are screenshots of an early model (left) and the current model (right).
Custom Supports/Bridging Aids Testing
Some parts in the project, and many in future projects, have overhanging segments with a hole in them. I’ve found that this causes issues 3D-Printing, since normally the printer can make a horizontal overhang by anchoring a line of filament on one end of the gap, then extruding across the gap yet keeping the line of filament tensioned by moving across the gap. This allows the initial bridge to be relatively flat, although with some drooping (how much depends mainly on how far is being bridged) for a layer or two before supporting future layers. With an overhanging hole, however, the printhead never reaches the other side and doesn’t keep the filament tensioned which leads to it drooping. This will mess up the next couple layers (intensity and number of layers depending on size of hole) until the affected layers create what is effectively supports for the hole.
To prevent this, supports can be enabled in slicers; it takes more time and material to print while making the areas they were applied messy, but they solve the problem easily. Another way to prevent this with less time and material is to create bridging aids on the part itself to provide an anchor for the printhead to place filament around the hole. These aids only need to be as thick as the extrusion width of the print and go directly around the hole or anywhere where the bridging could use assistance. Below is a diagram of the problem and images of the test piece I created to ensure that this solution would work for parts in the project.


Plinko Marble Splitter
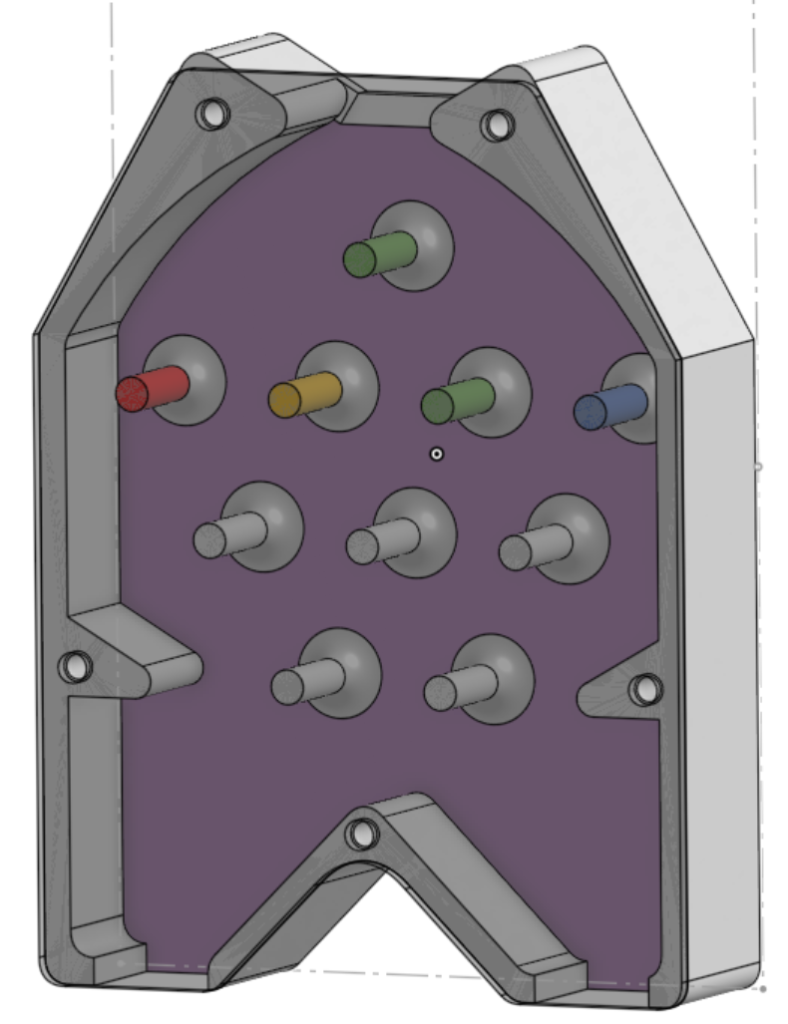
This part utilizes the supports mentioned above, besides from that however it is a pretty simple part. It consists of a main 3-D Printed part and a clear plastic cover, and the main part has four levels of pegs for marbles to hit and bounce off to go one of two ways. This part went through a couple iterations, including changing the spacing and number of pegs to ensure larger marbles could pass through, eliminating spots where marbles got stuck, and adding a fillet to the pegs to strengthen them. This is easily my favorite part, as it’s fun to watch marbles bounce around inside and has a distinct sound.
Link to Onshape Document – MarbleWallParts